Mark 6 TDI Beetle - Oil Change Guide | 03.21.2026
Changing your own oil is a good skill, and can be a fun afternoon if the weather is nice. It is dirty work dealing with used motor oil though.
I've done it a handful of times on this car.
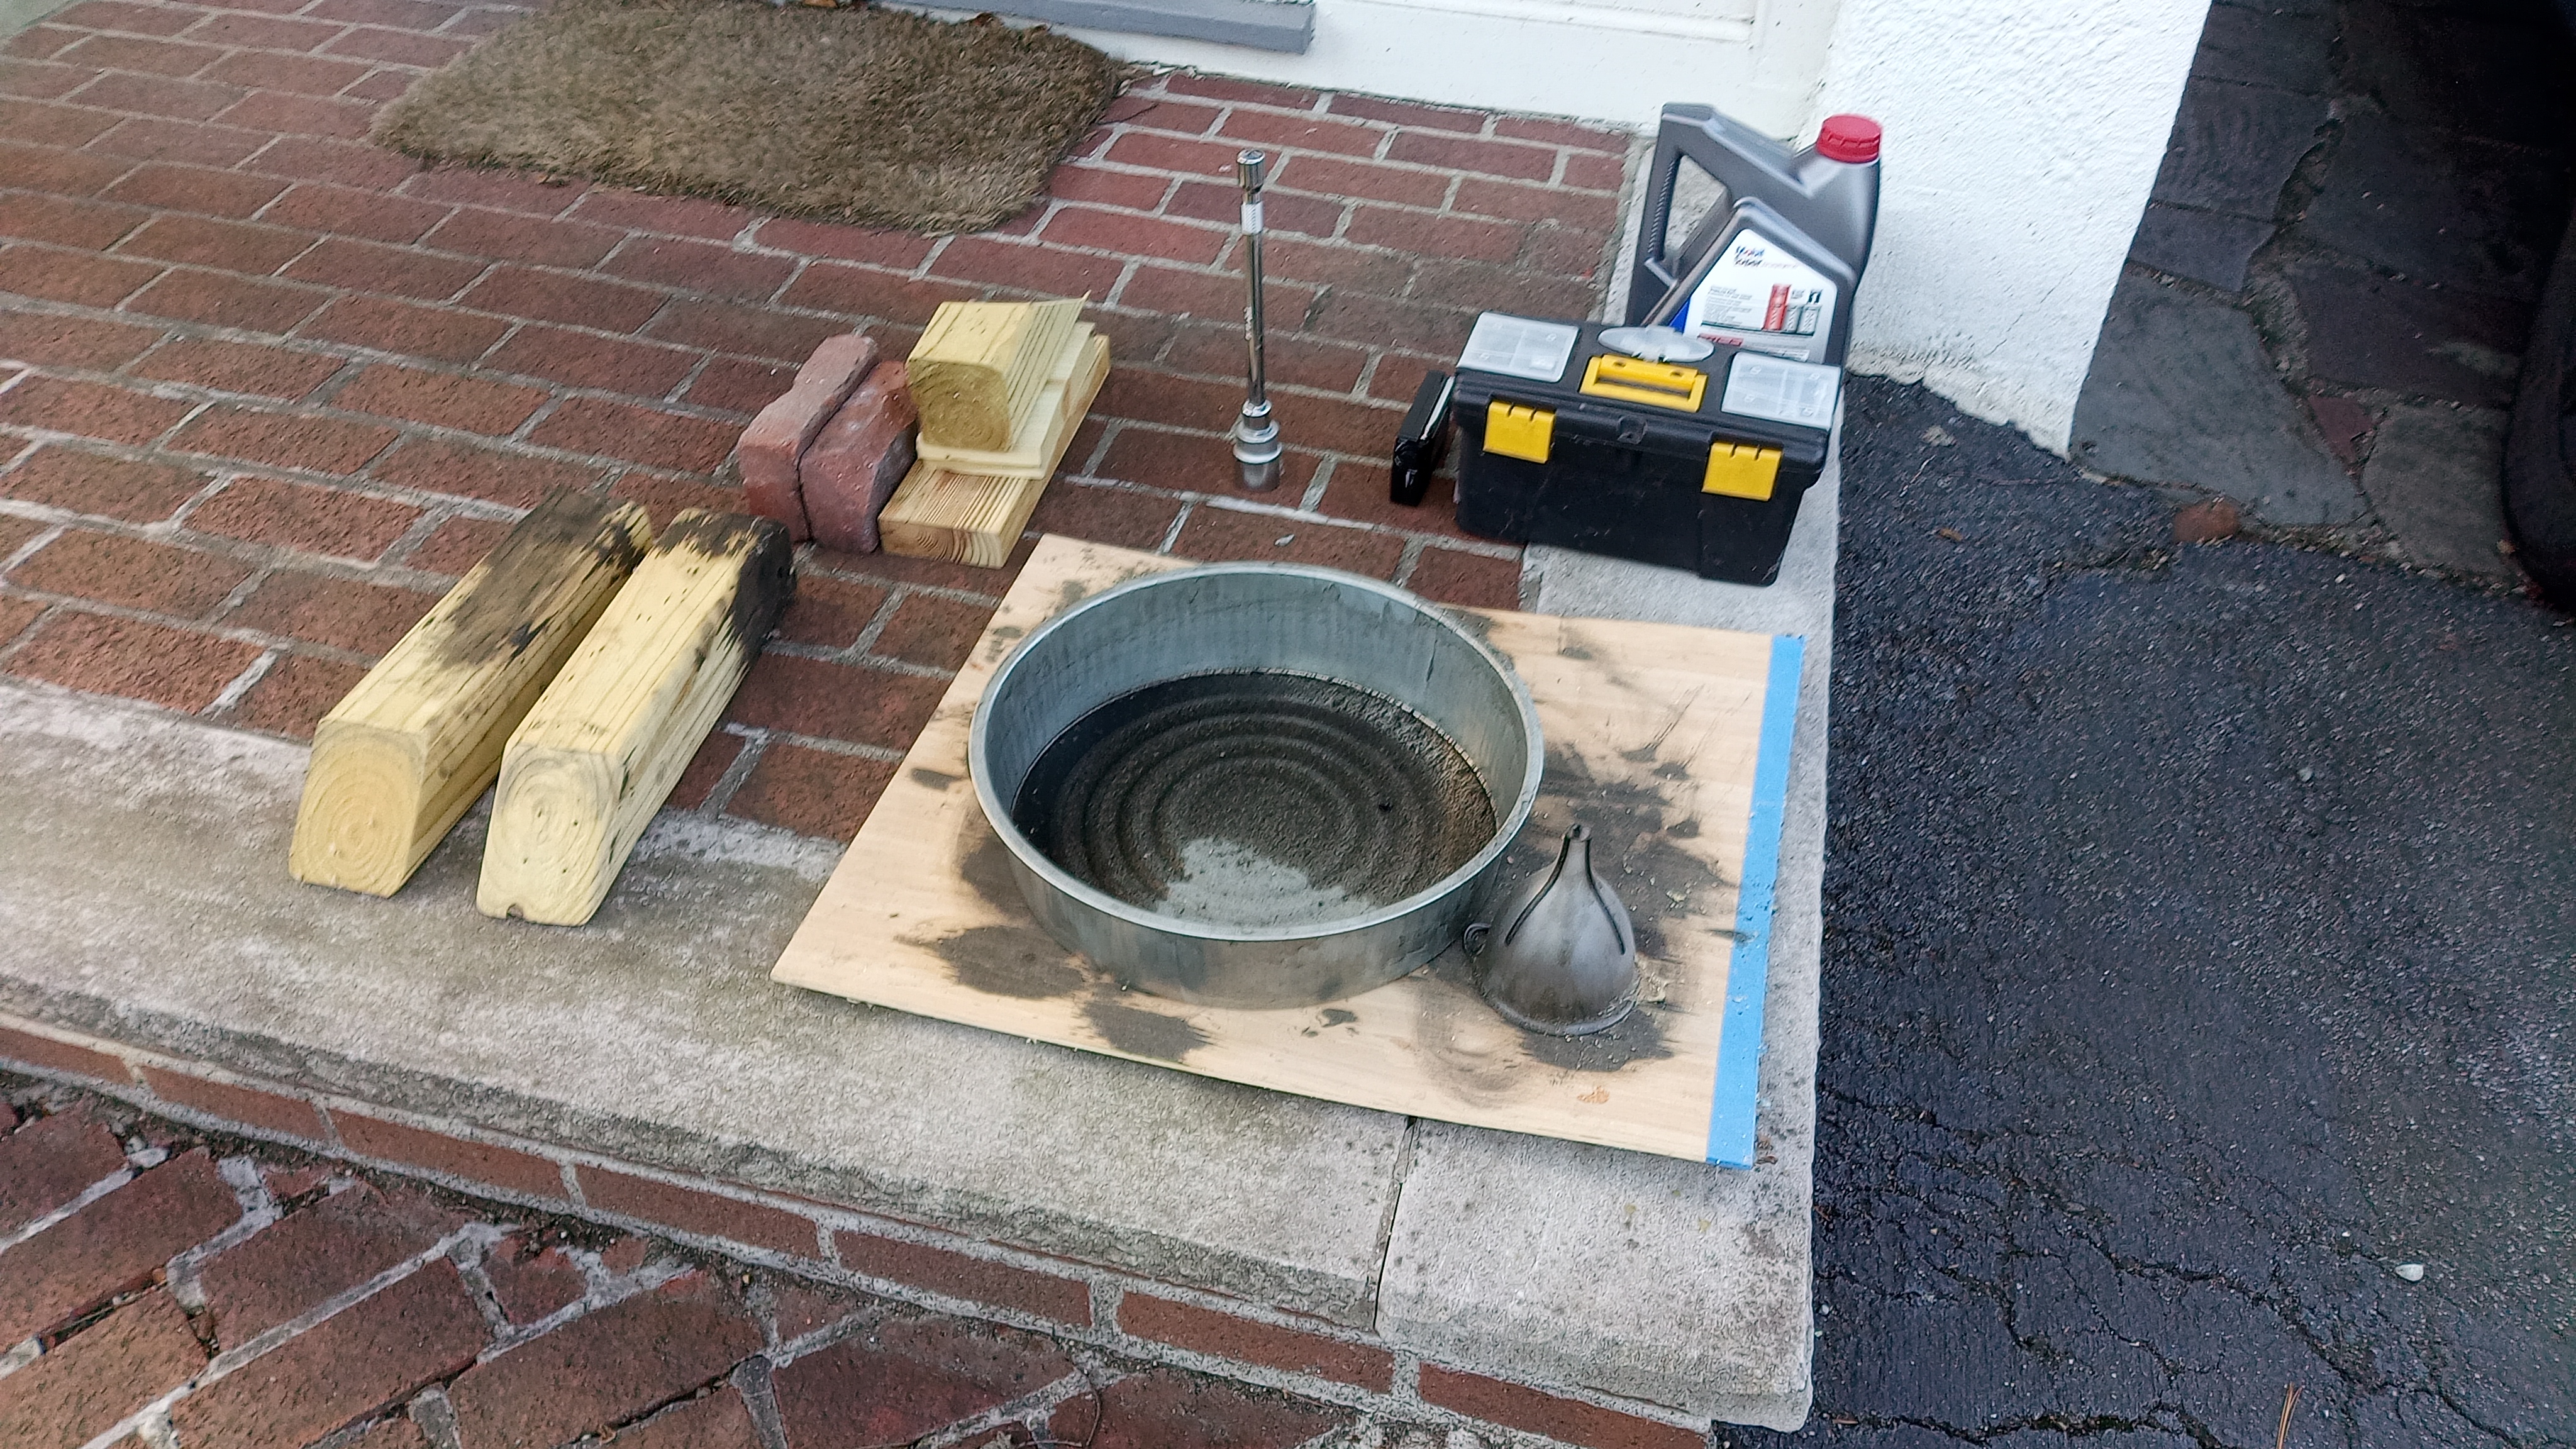
Tools
- T30 Torx Driver
- Socket wrench
- 32mm socket with 12" extension; this is the only oddball tool you need
- 19mm socket (3/4" will fit)
- Some method to lift your car; I use wooden ramps
- Wheel chocks
- Oil drain pan
- Funnel
- Roll of paper towels
- Trash bag
- 4.3L of 5W-30 or 5W-40 oil
- Oil Filter- OEM part number 071115562C; I've used MicroGard MGL57083 a couple times. It's a cartridge filter with a distinctive plastic stem which can help identify the correct part.
If you're ever trying to find parts for your car, rockauto.com is simply the best website. Their catalogue works in an easy and obvious way and the prices are fair and reasonable.
Preparation
Before you start, make sure you have all the supplies you need. Once the oil is out of your car, you can't drive it to the store to get something you missed until the job is done.
It's easy to get used motor oil on your hands or clothes, wear some working clothes.
The engine should be warm before you start so that the oil flows easily. Drive the car around or let the engine run for a while until it's warmed up.
Lifting
Once you have your supplies and a warm engine, the first step is to lift the front of the car. The best way to do this is to lift the car with a floor jack, set it on down jack stands and chock the back wheels. I have a pair of wooden ramps which I drive the front wheels up onto, and I then chock the back wheels.
Be aware that if the car falls on you while you're under it you could die.
If you aren't confident that the way you've lifted the car is secure, don't get under the car.
Drain Oil
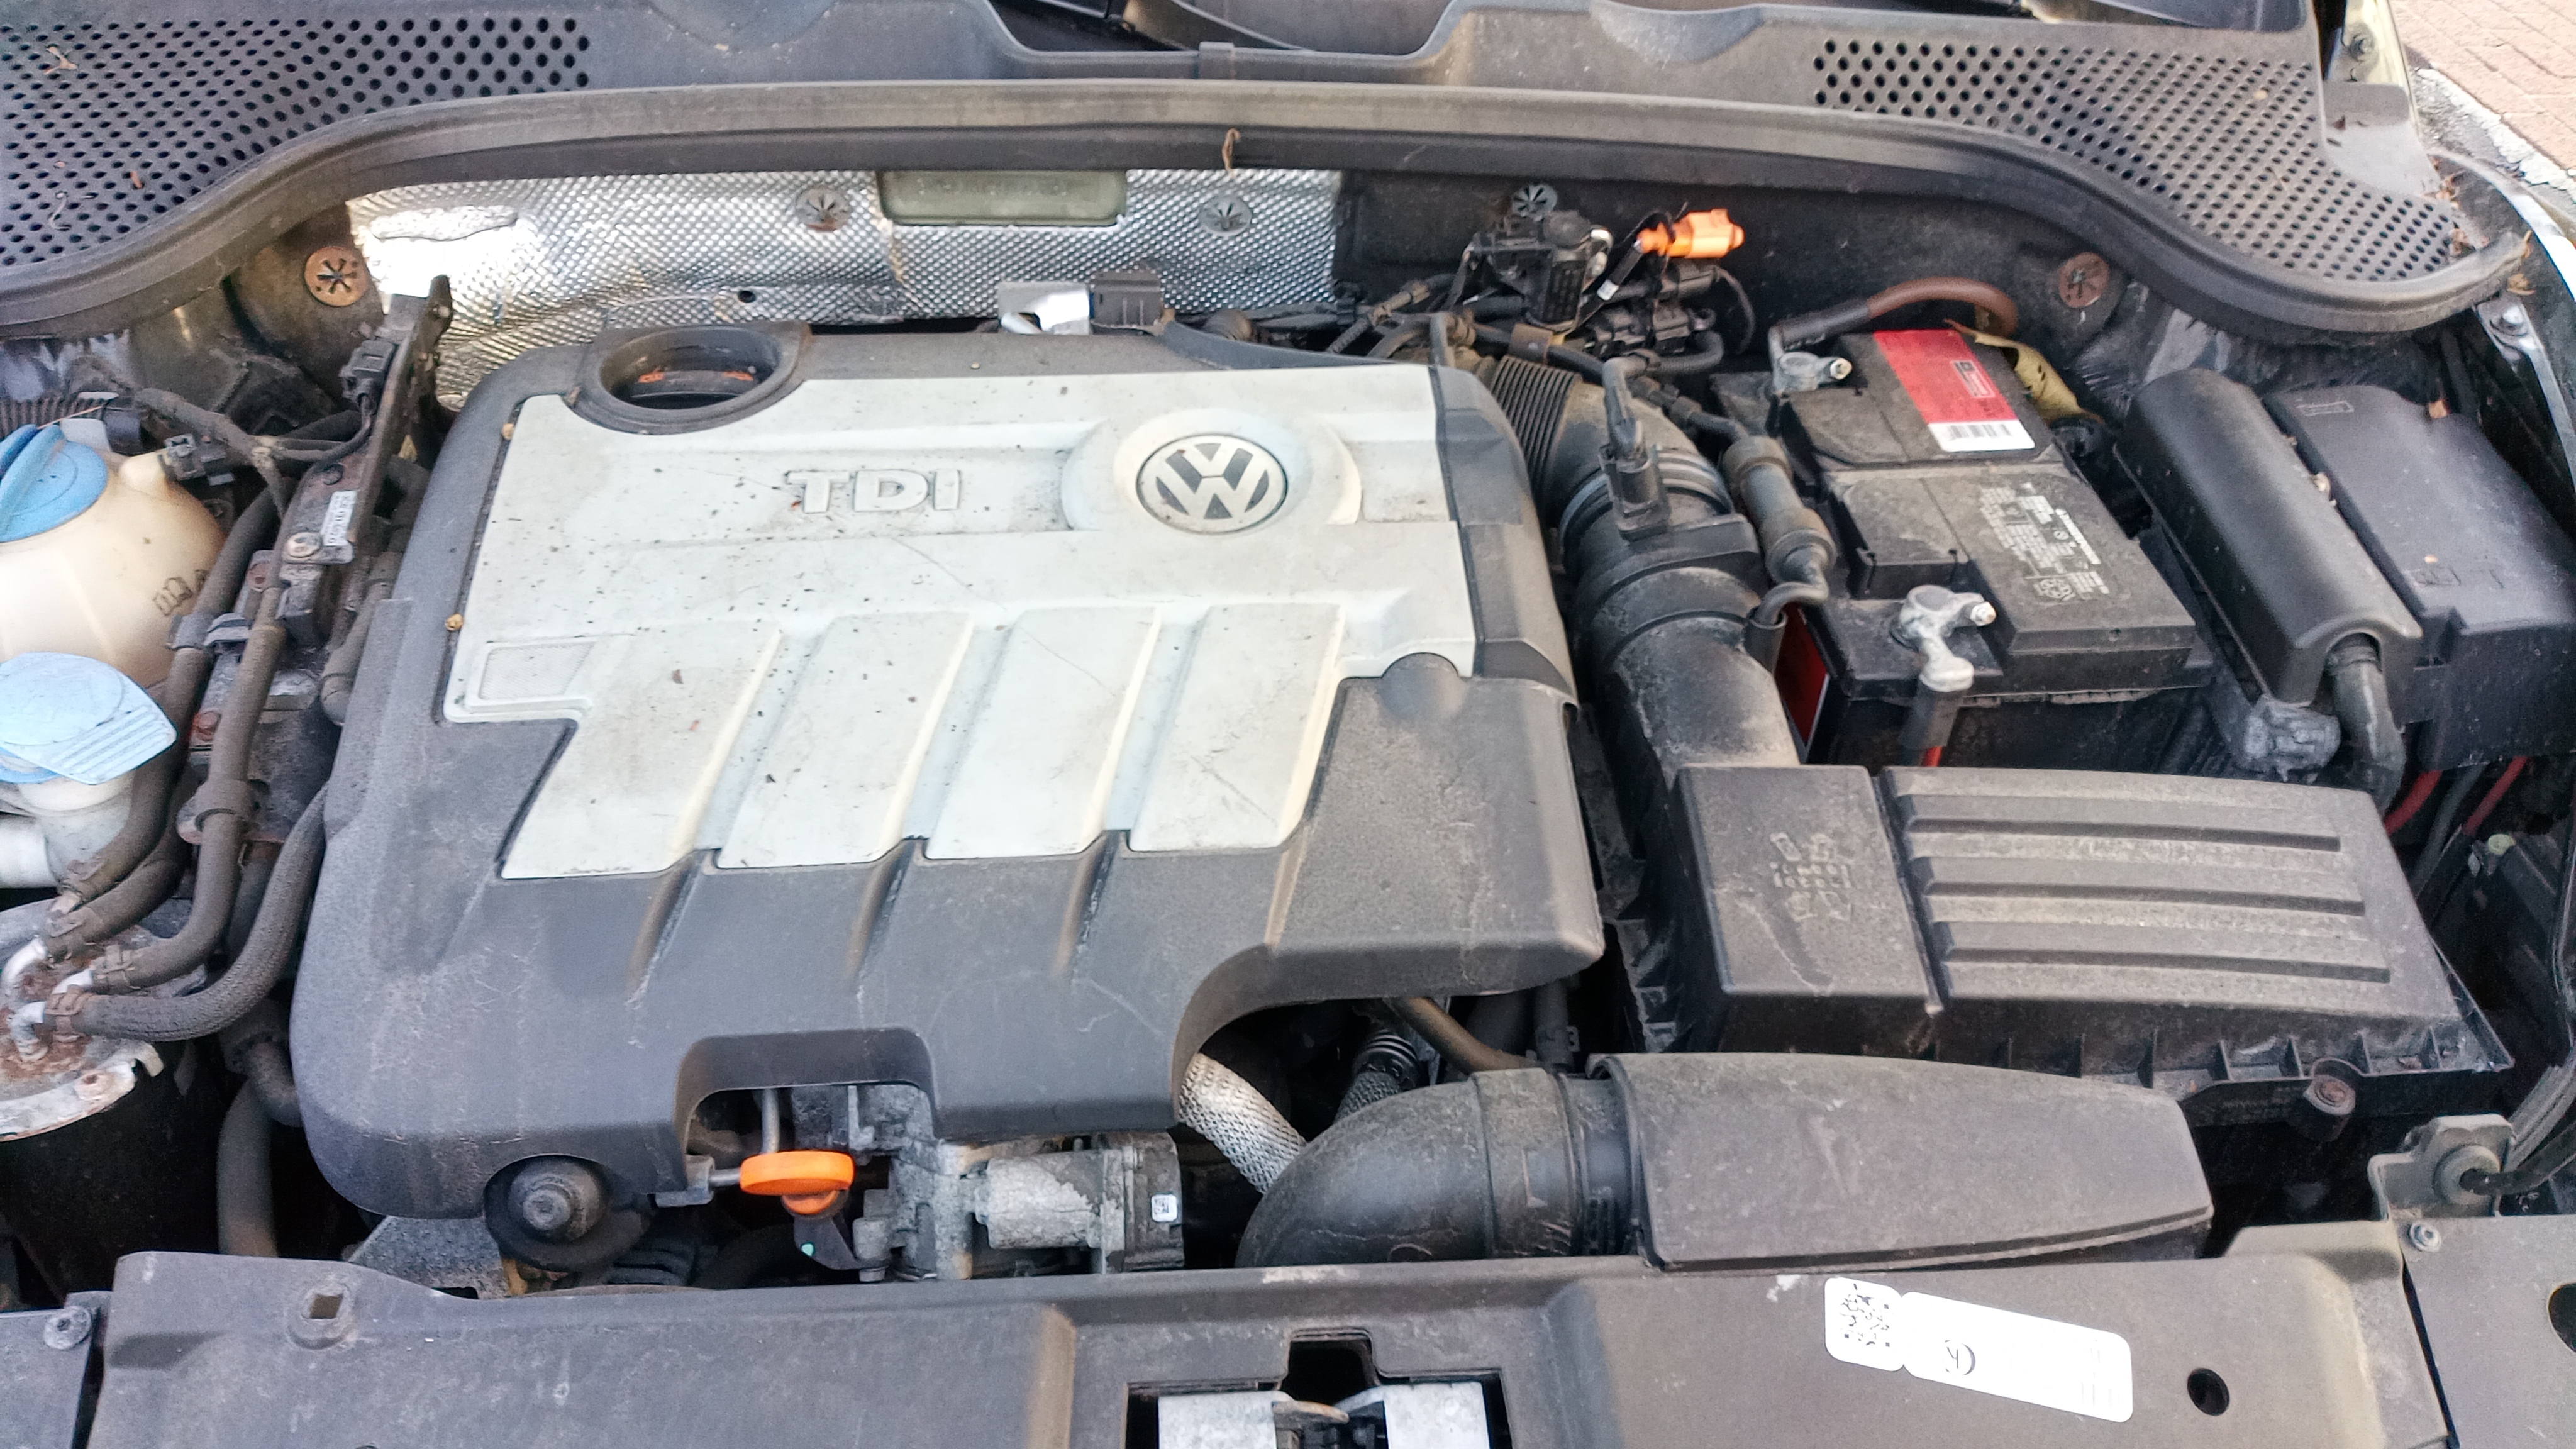
To drain the oil, first open the hood and loose the oil cap to let air in when the old oil drains out. I clean any dirt or debris away from the oil cap before opening it; you don't want any of that getting into the engine.
I also usually pull the engine cover off now. It helps getting access to clean the area, and we'll need to remove it later to access the oil filter. The cover is held on by 4 ball and socket connections, and you can just pull it off with your hands.
Now get under the car with your 19mm socket wrench and oil drain pan to access the drain plug bolt. It's under the engine closer to the passenger side. The bolt head faces toward the rear of the car. It will take some effort to break the bolt free and it can be a little difficult in the limited space under the car. Oil won't start coming out until you back the bolt out a fair way, so you can put the oil pan to the side if you need more space while breaking the bolt free.
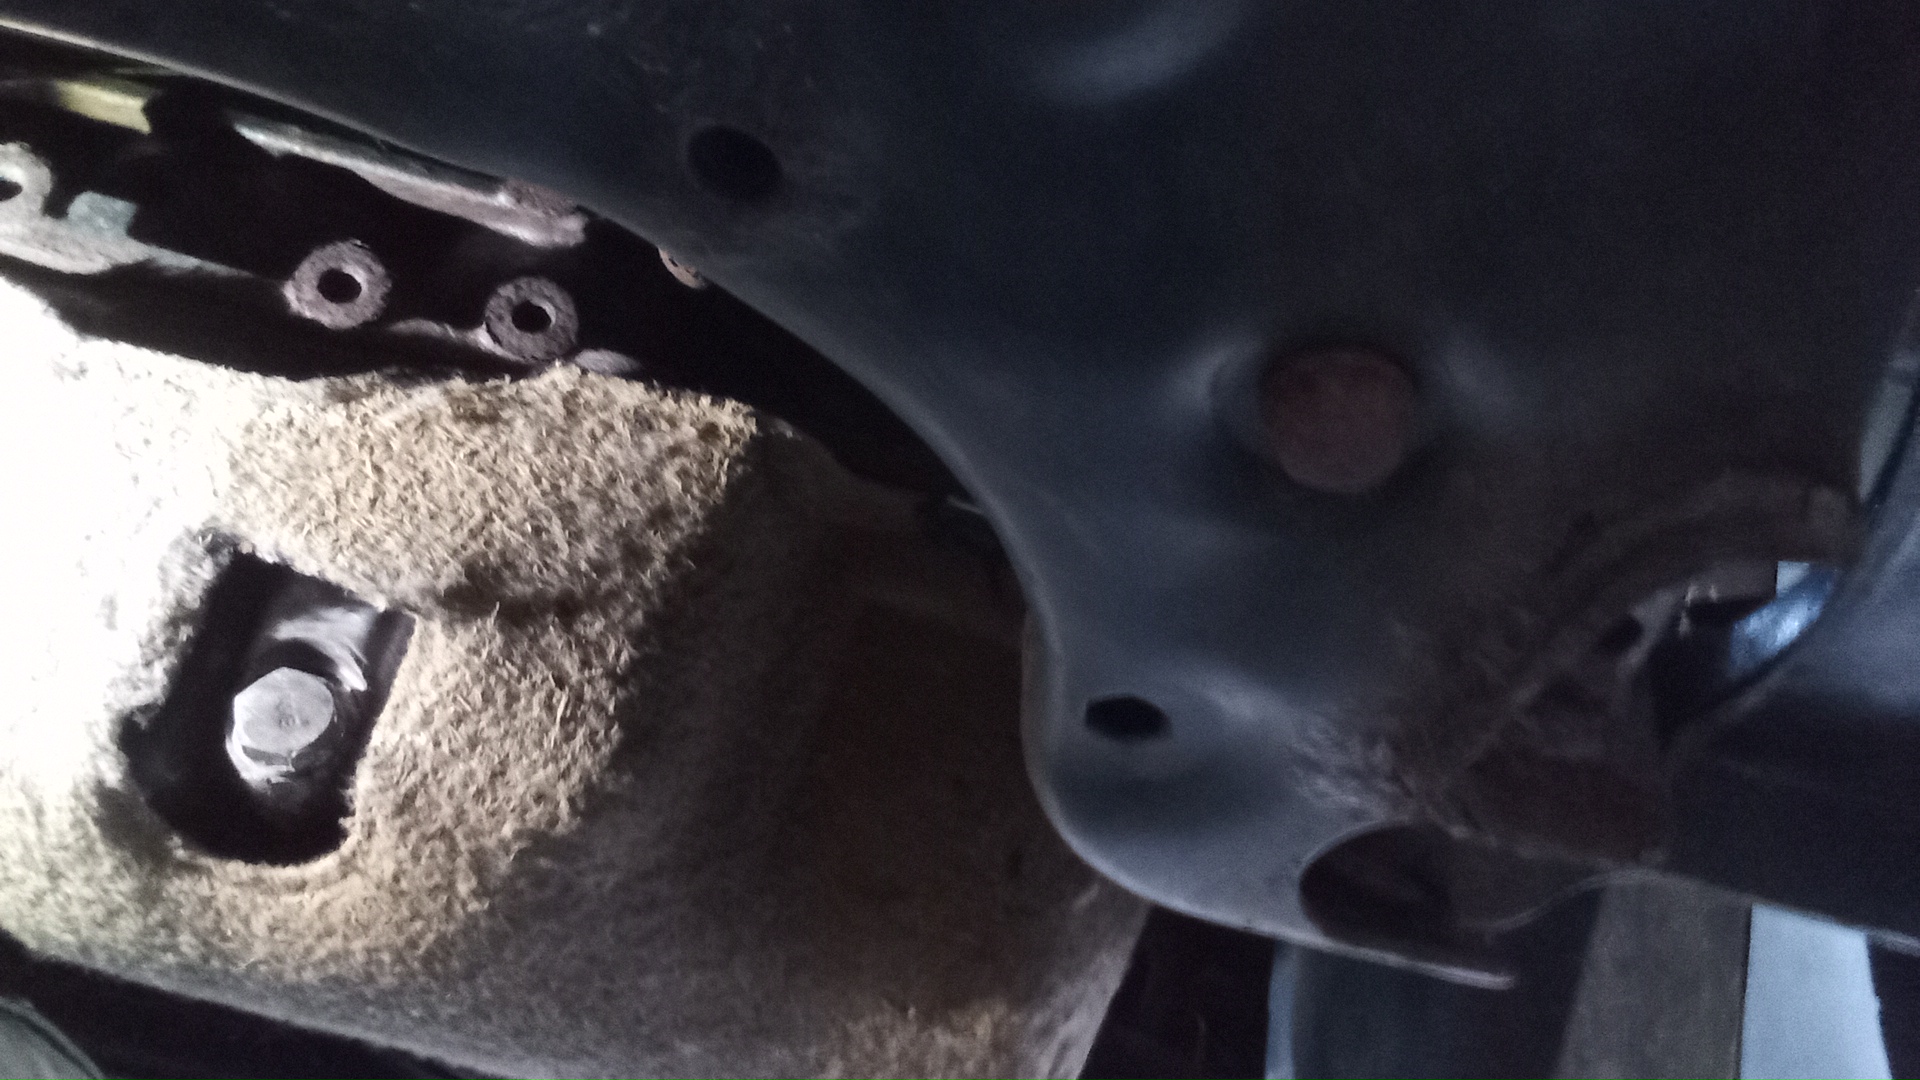
Once the bolt is broken free you can unthread it the rest of the way using your hand. Before unthreading, slide the oil pan under the drain plug. Oil may begin to drip as you back the bolt out, and once the bolt is removed it will flow out in an arc. Make sure the oil pan covers both directly under the drain hole, and in front of it to capture the arc.
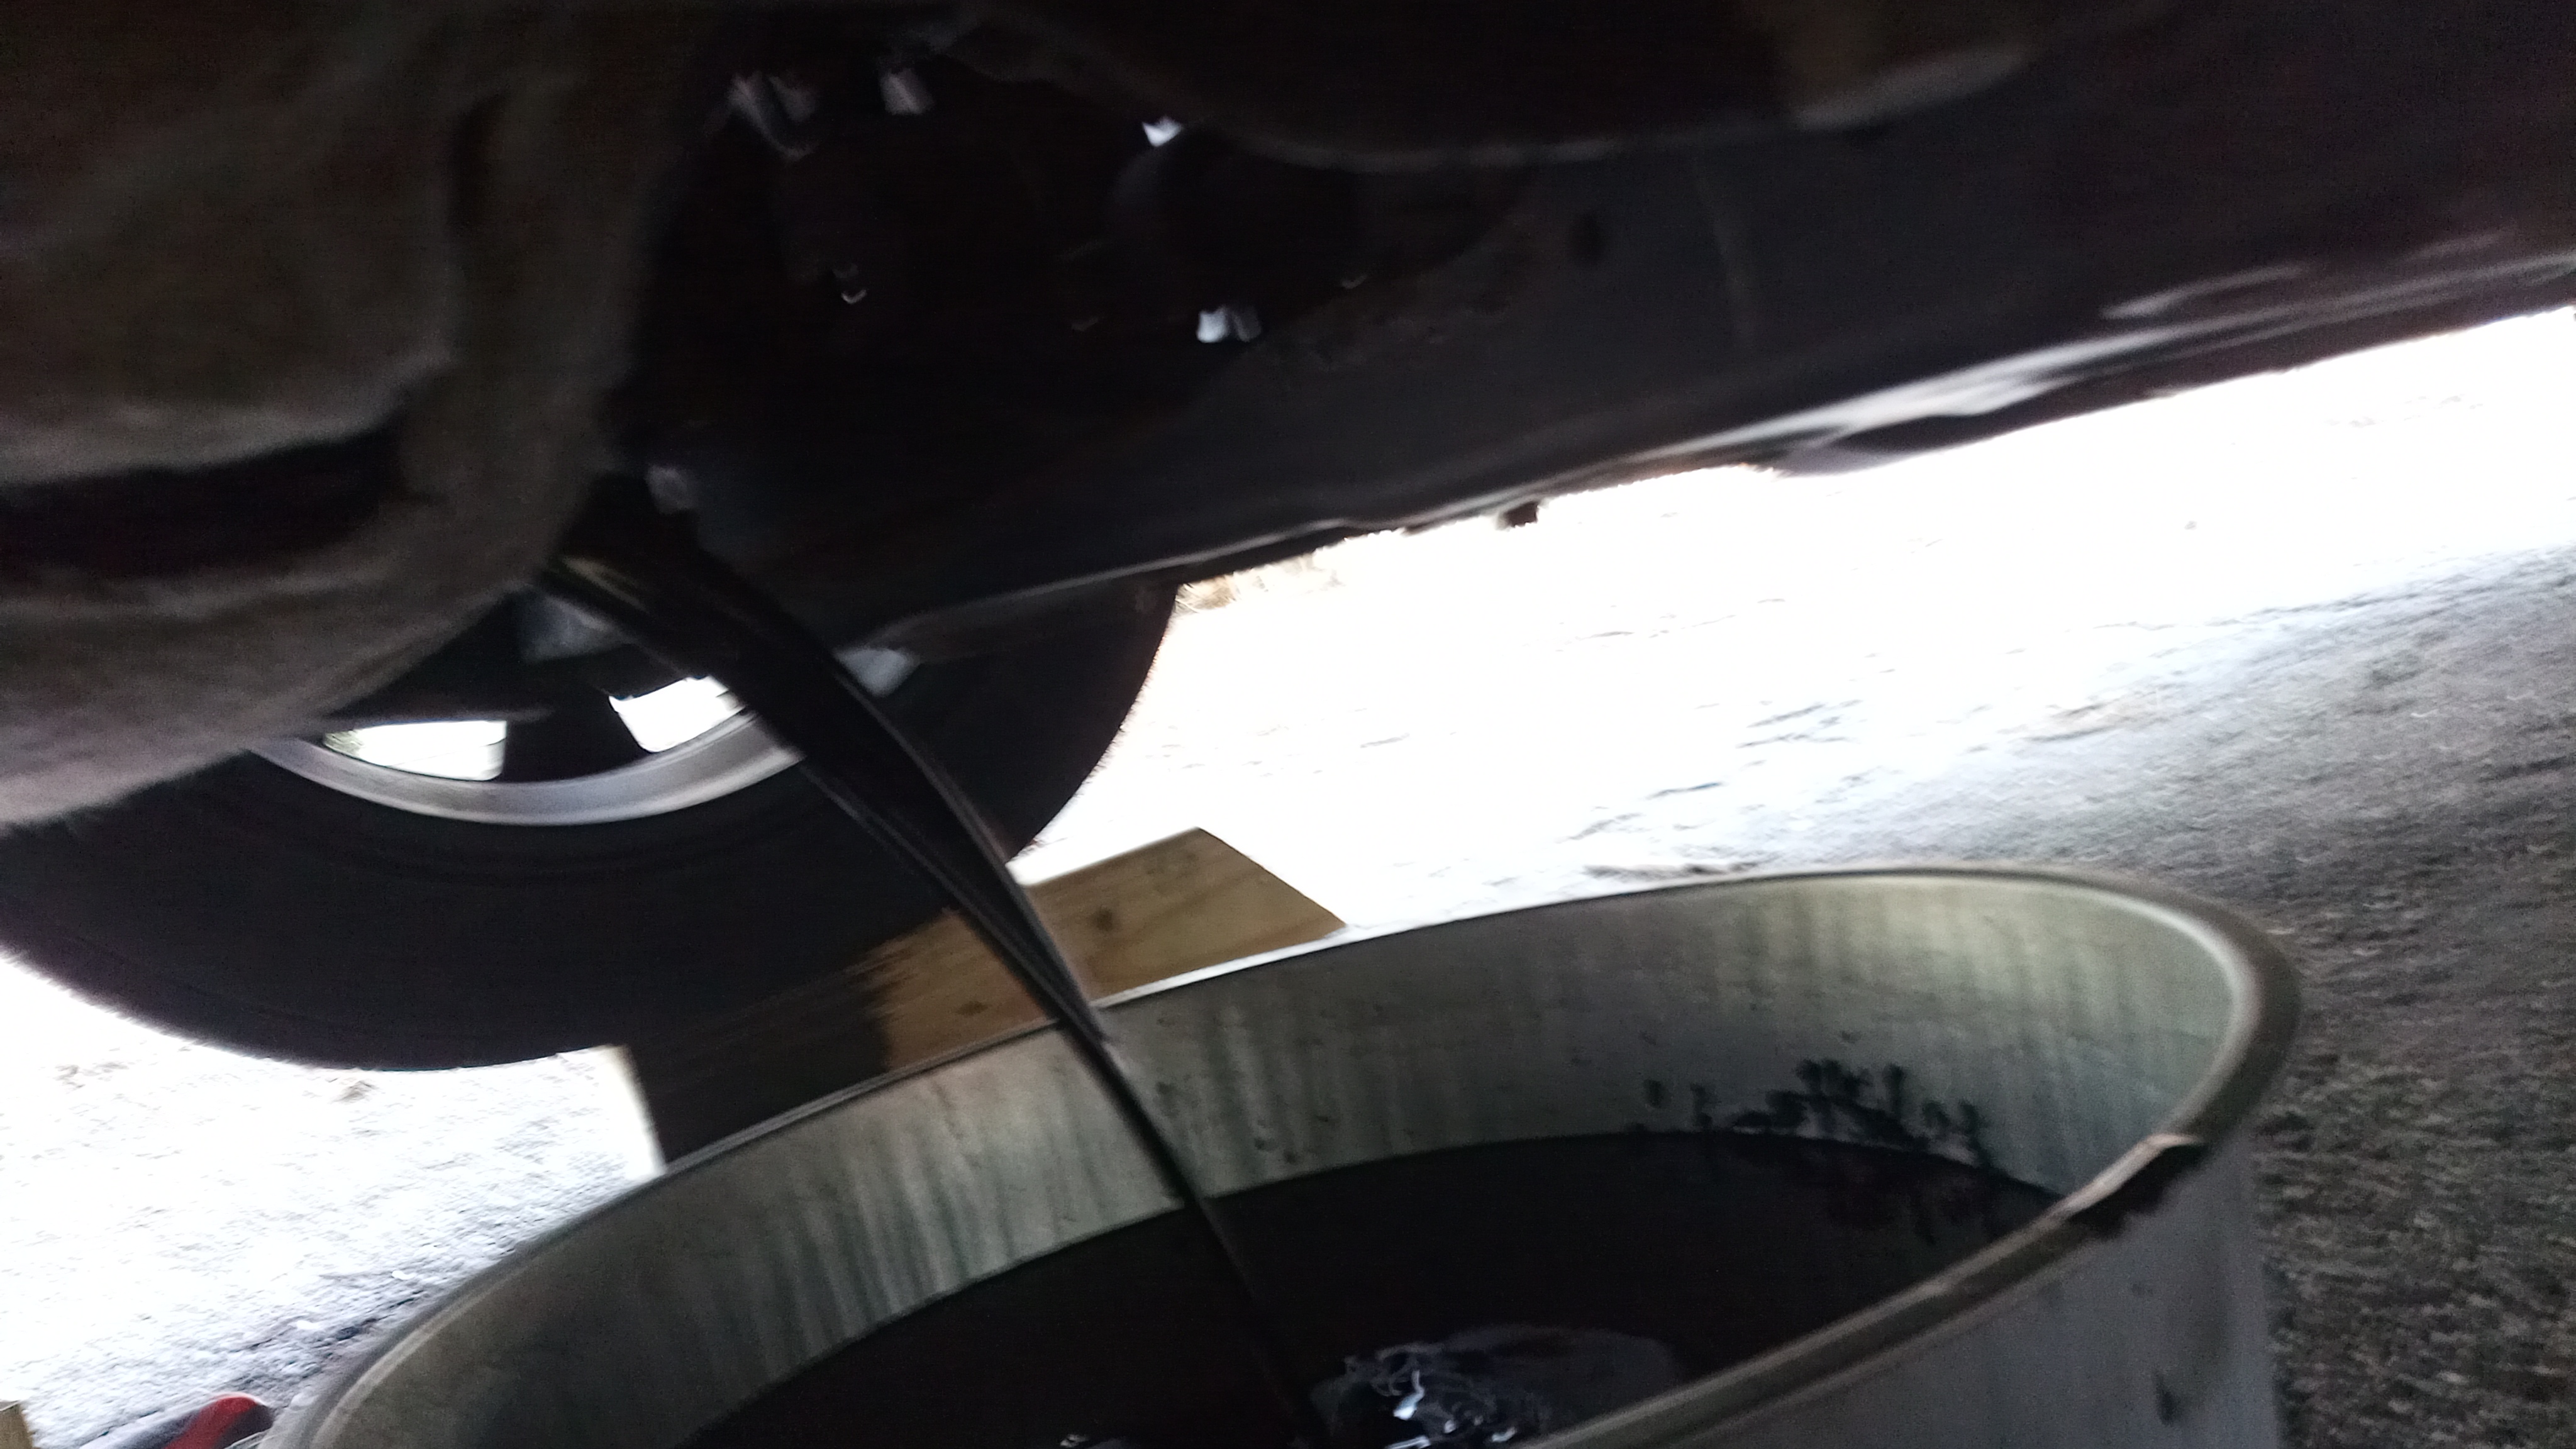
Give the oil a couple minutes to drain out. Once the flow stops, you can start removing the filter.
Replace Oil Filter
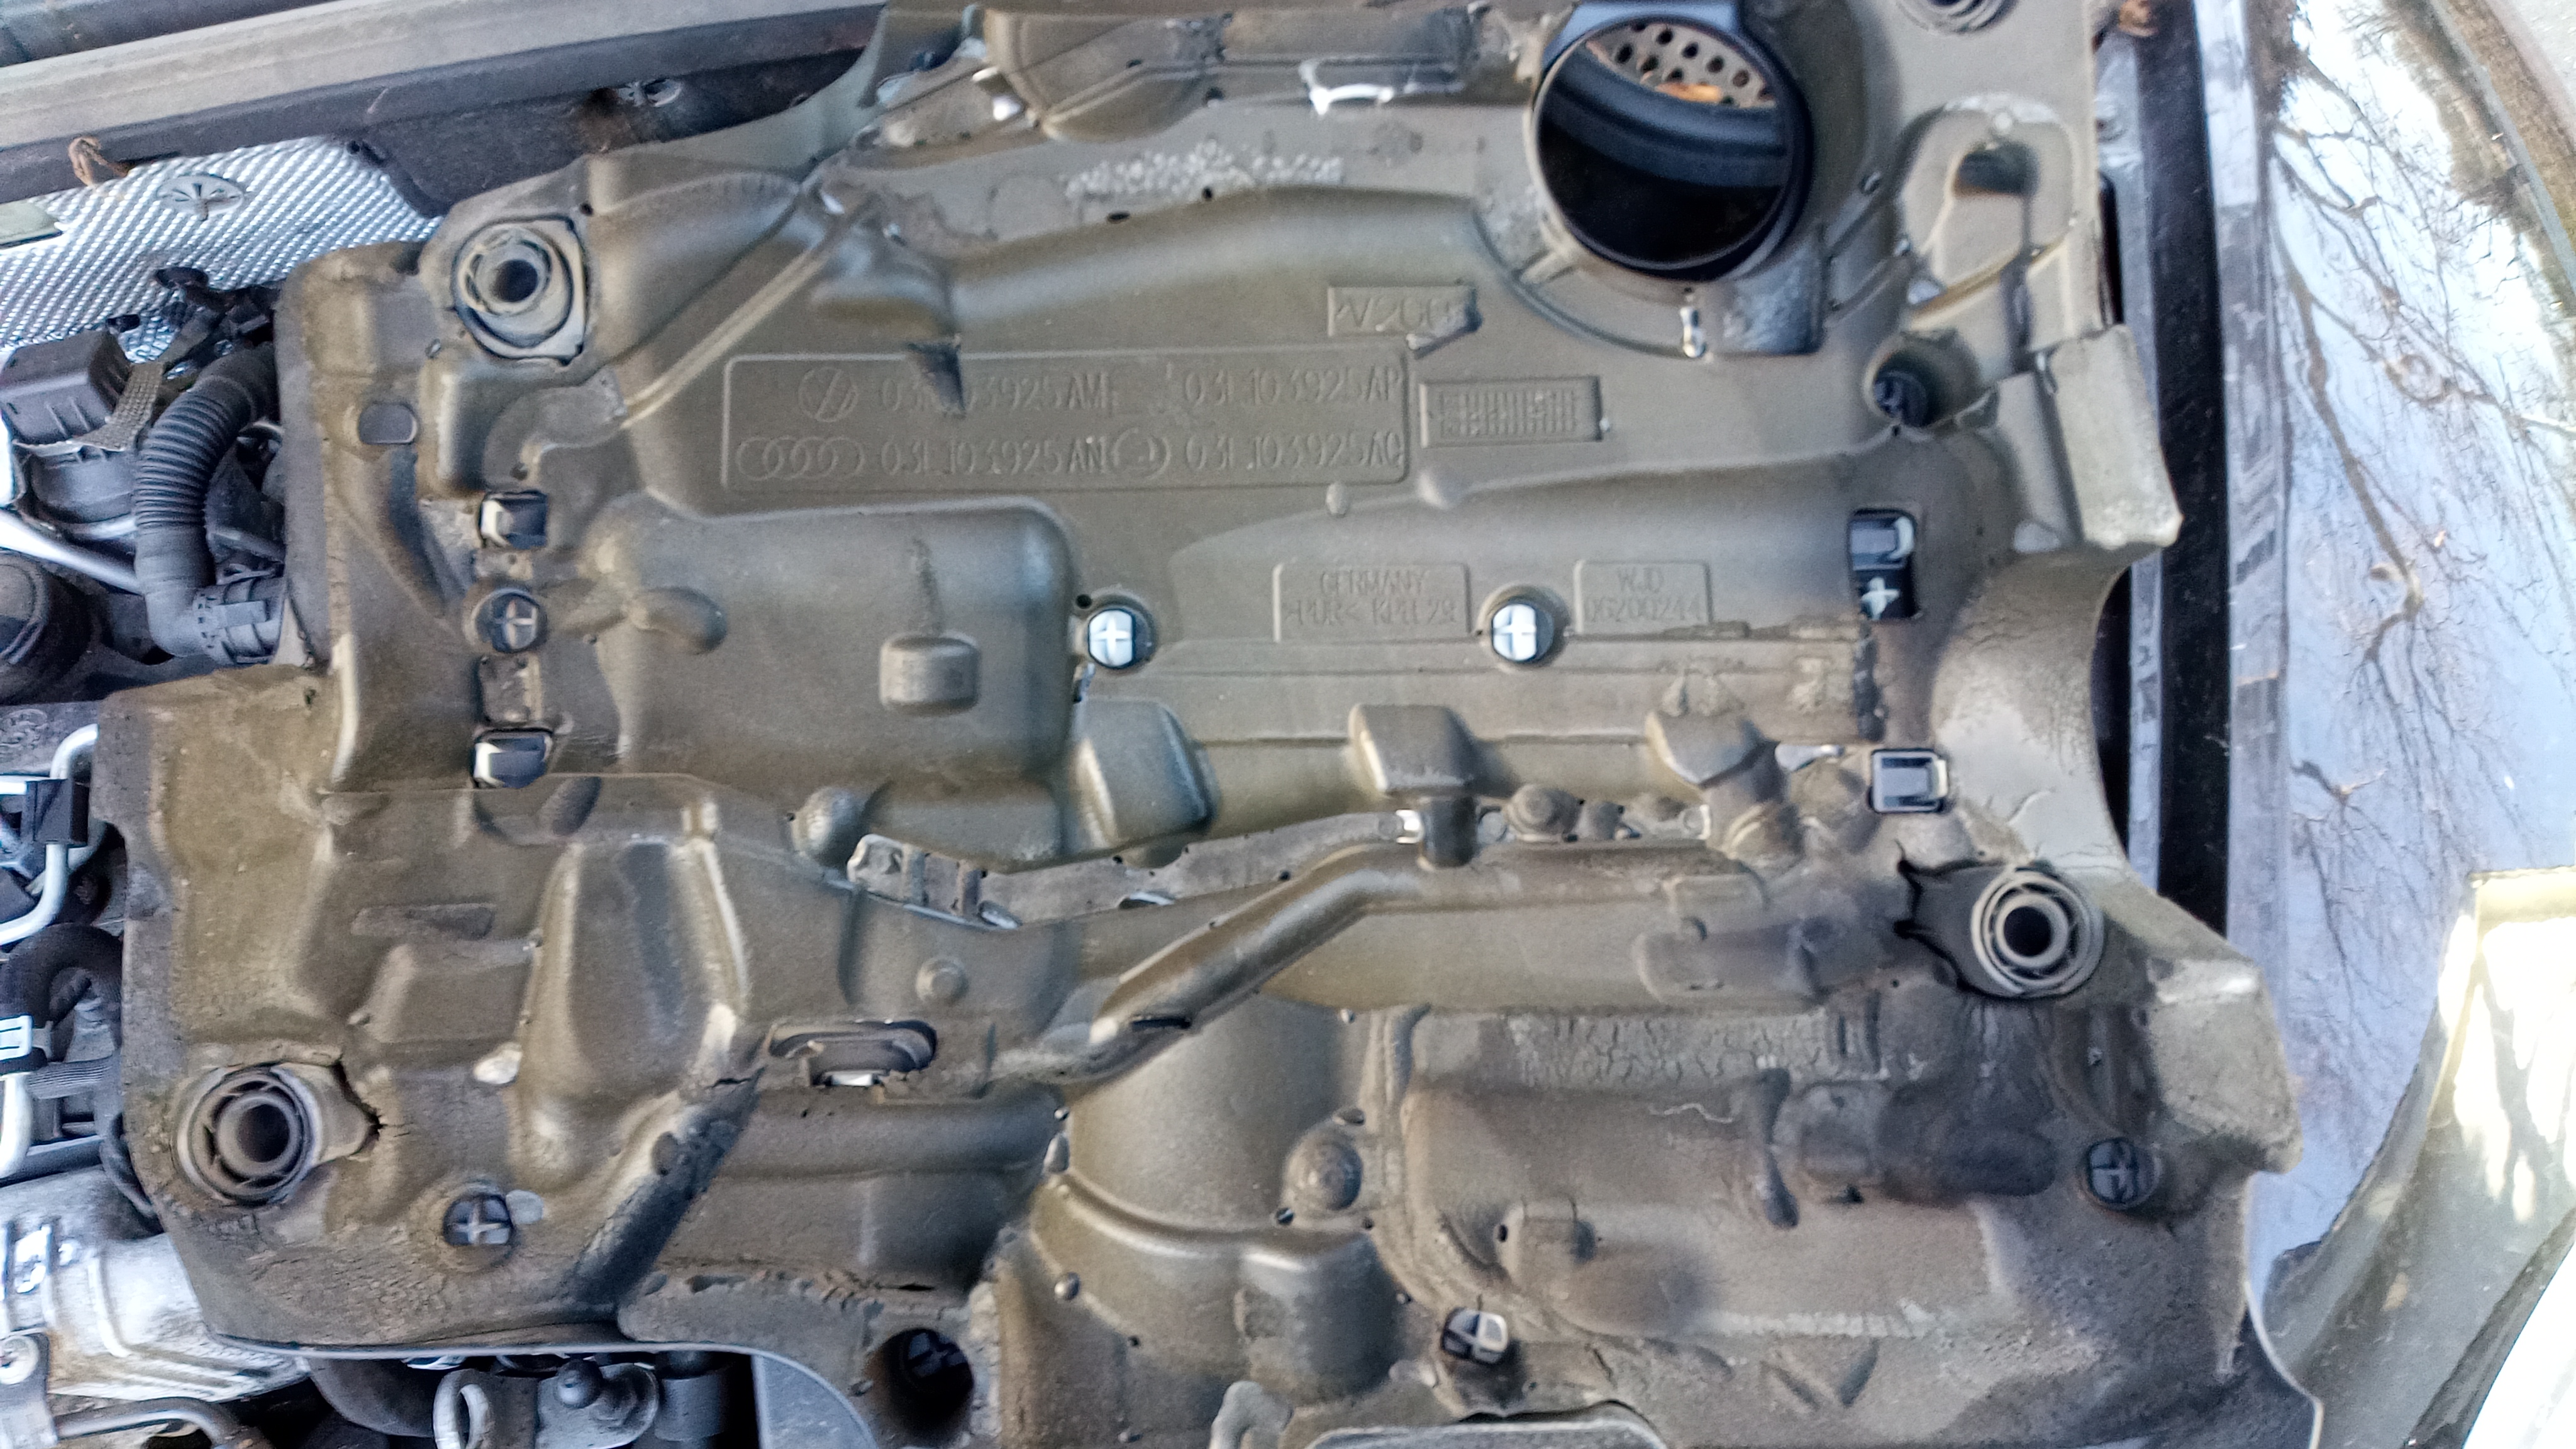
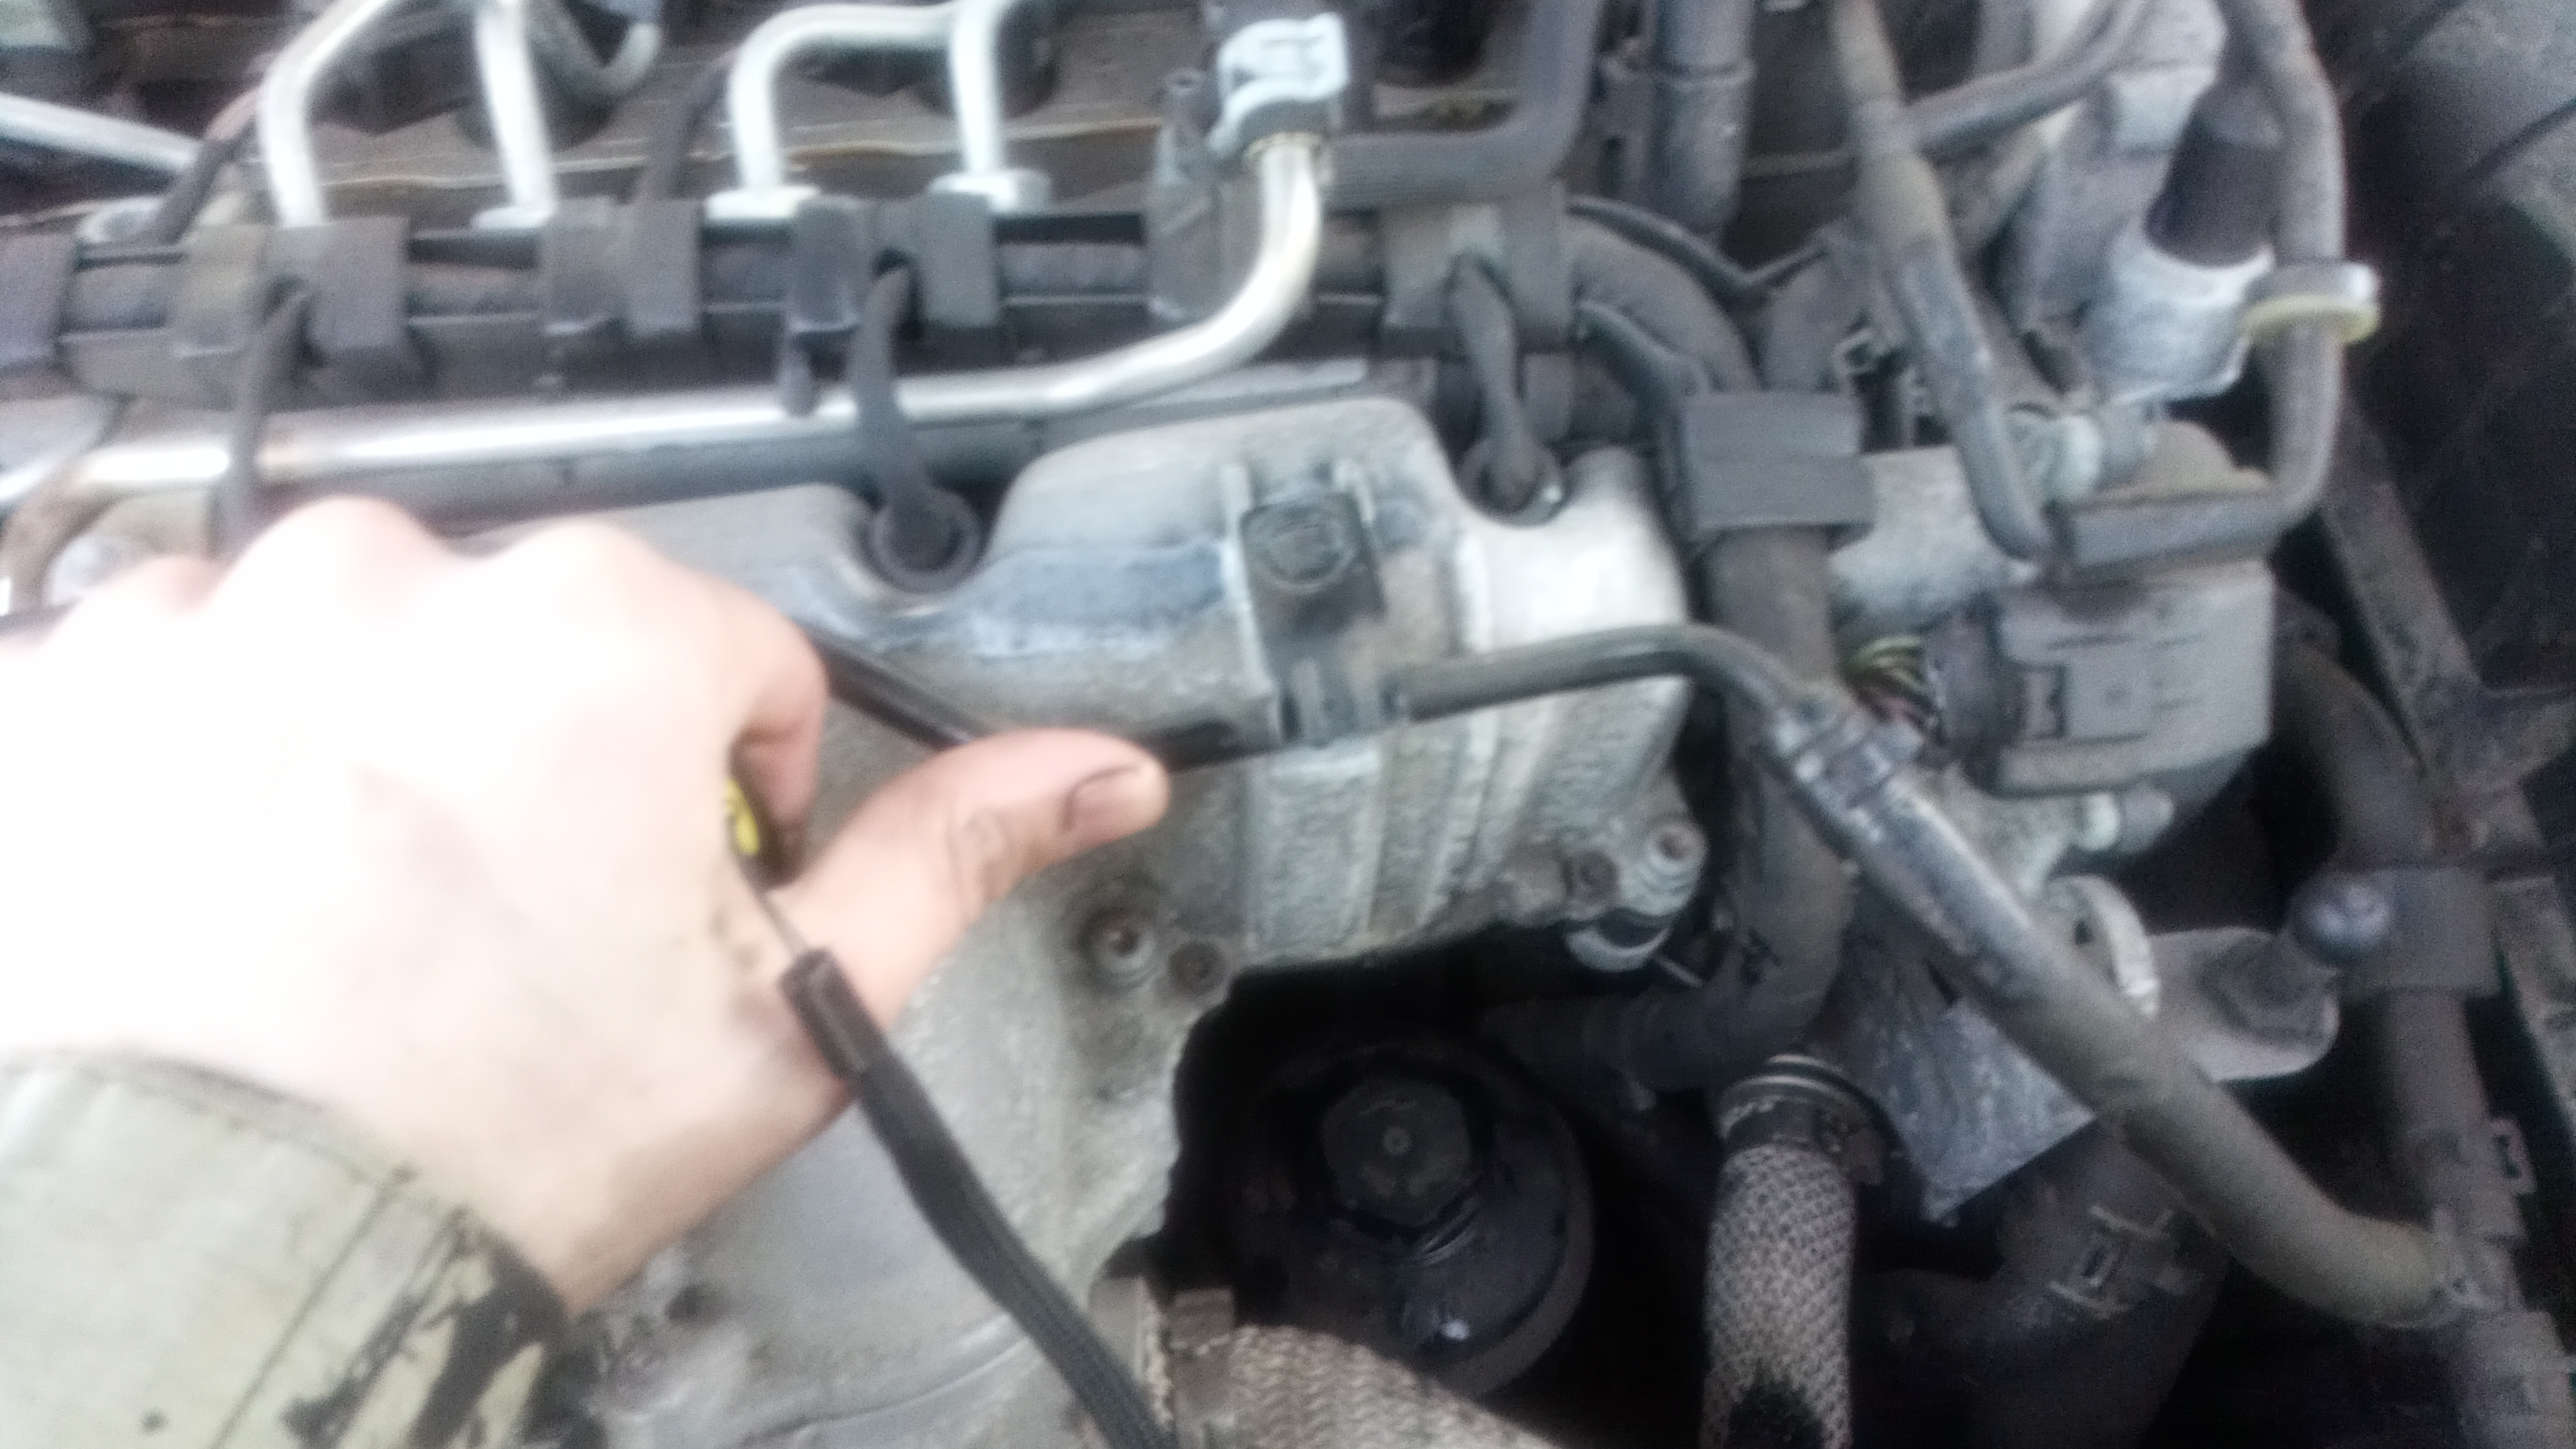
The oil filter is accessed from the engine bay. To remove the filter easily, you need to move this hardline out of the way. You can remove a single T30 bolt here and push the hardline up out of the way.
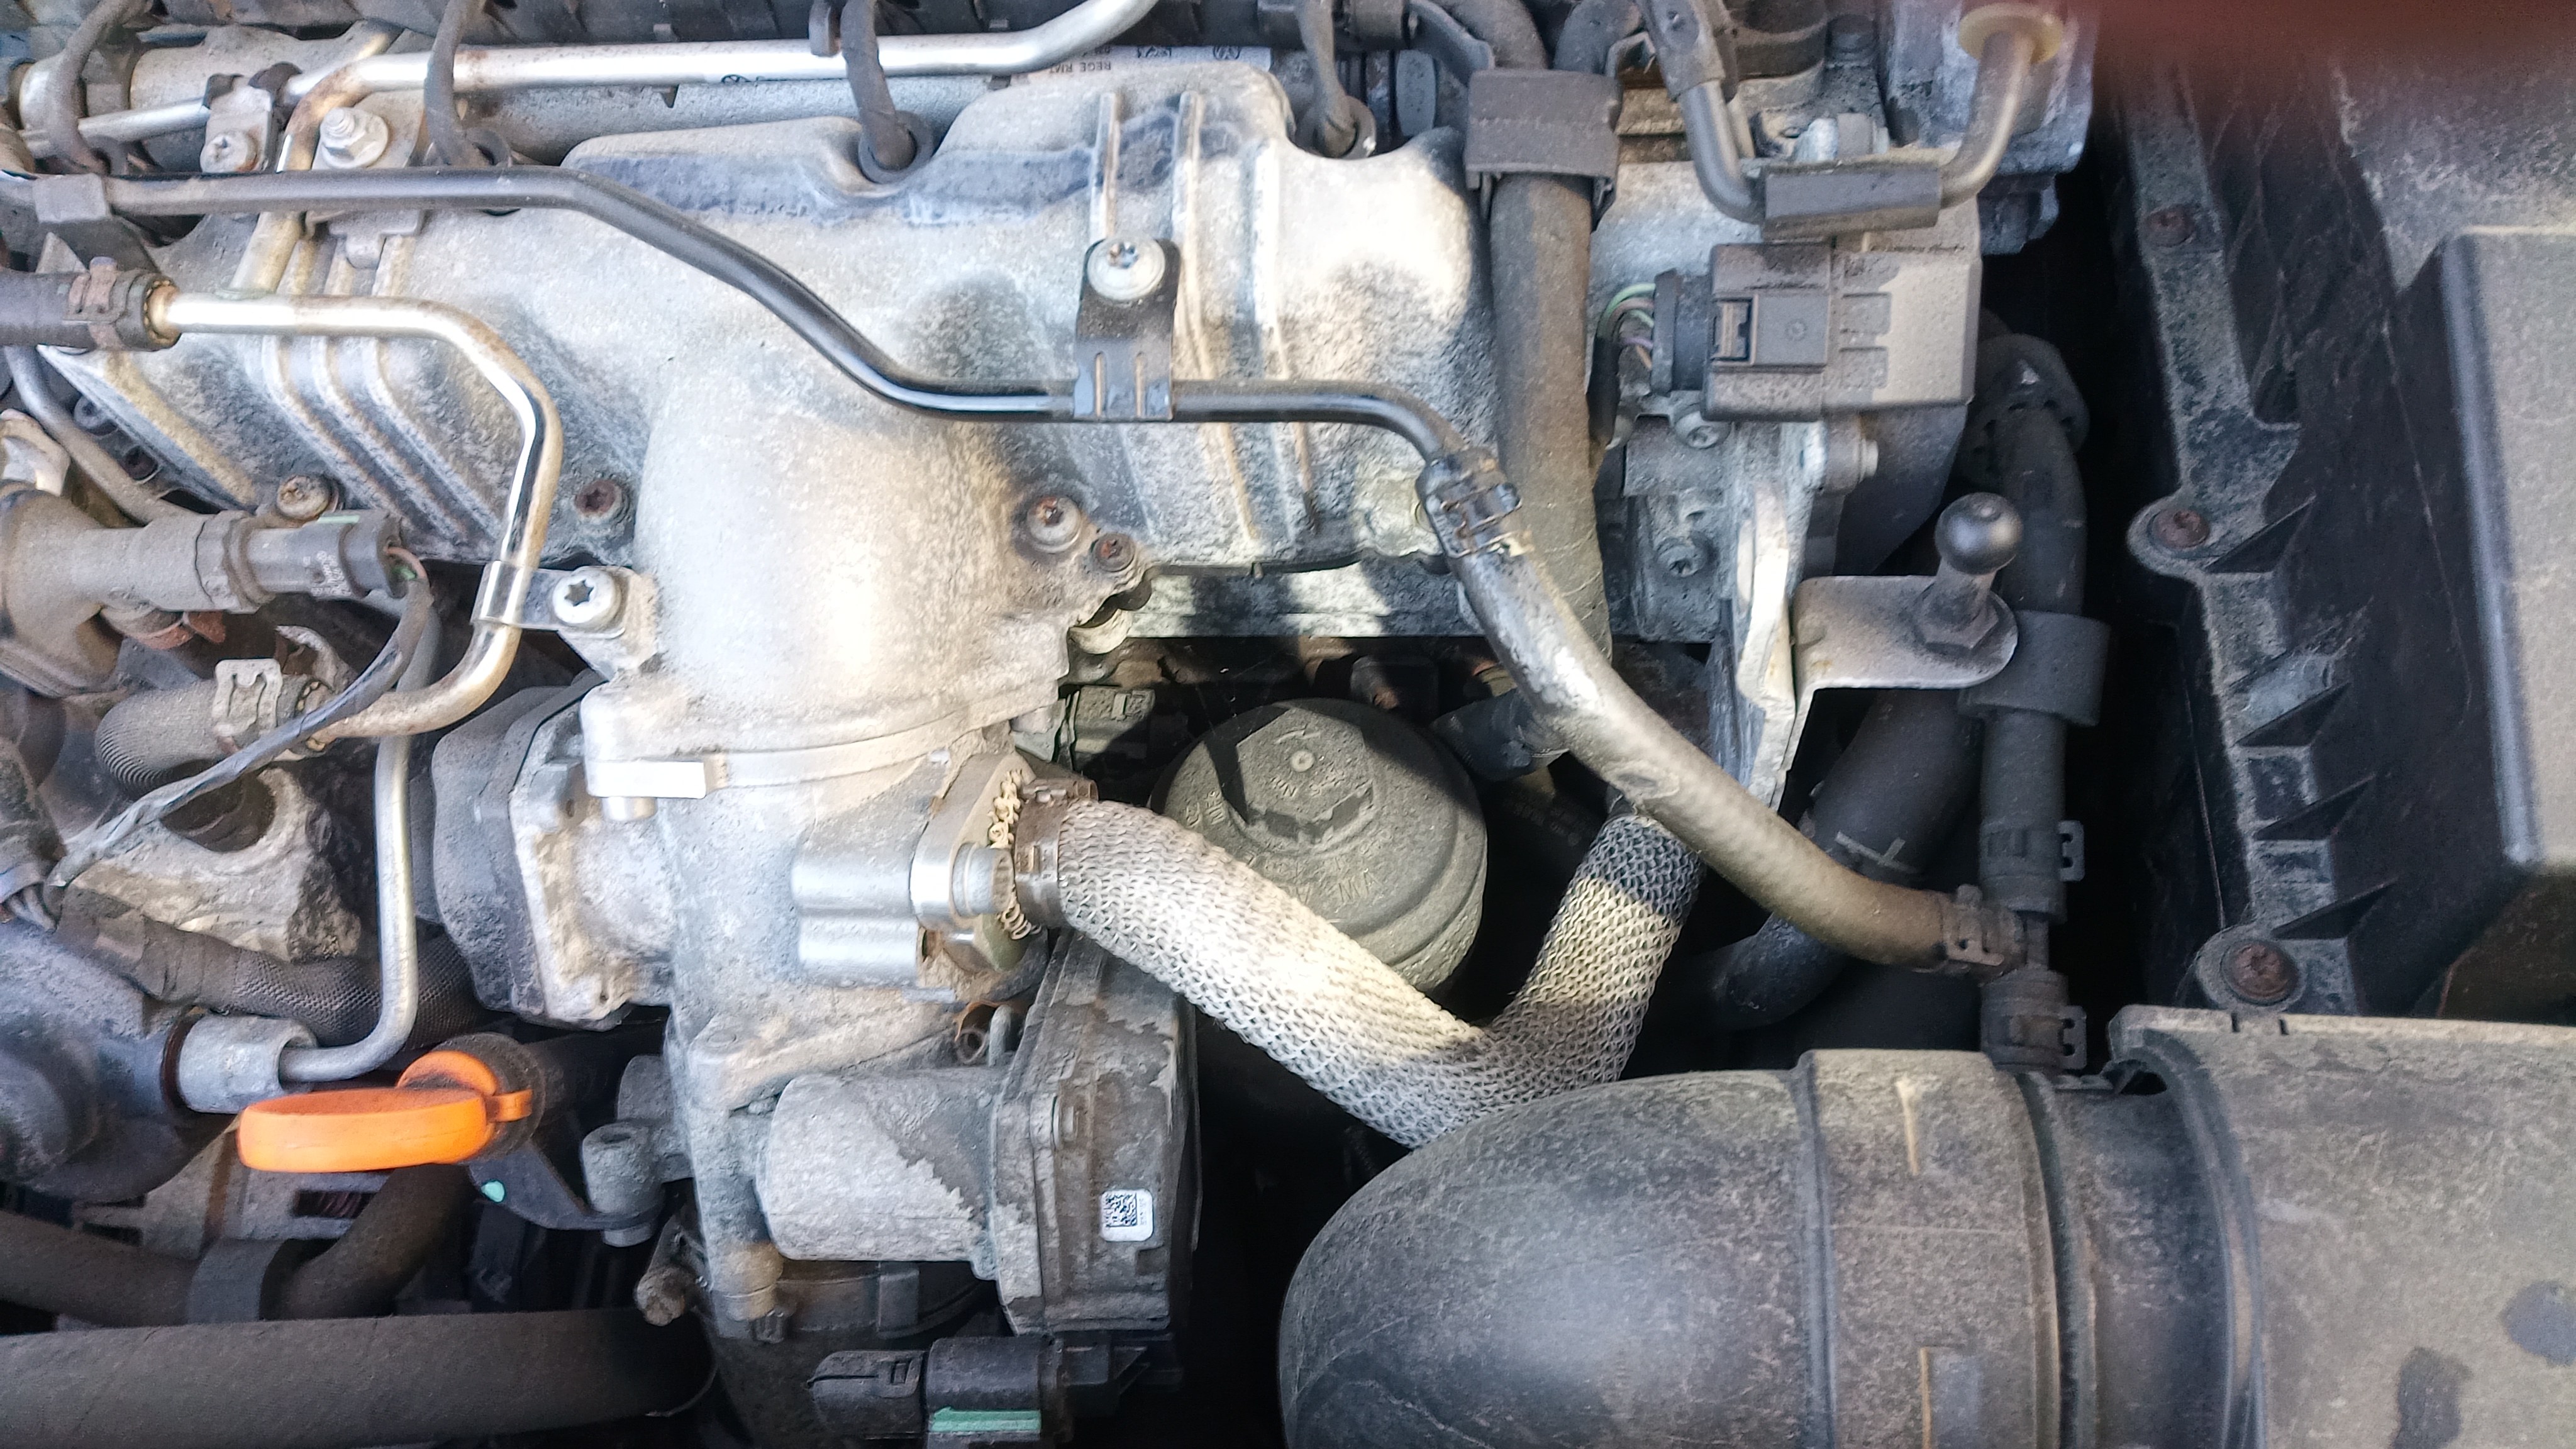
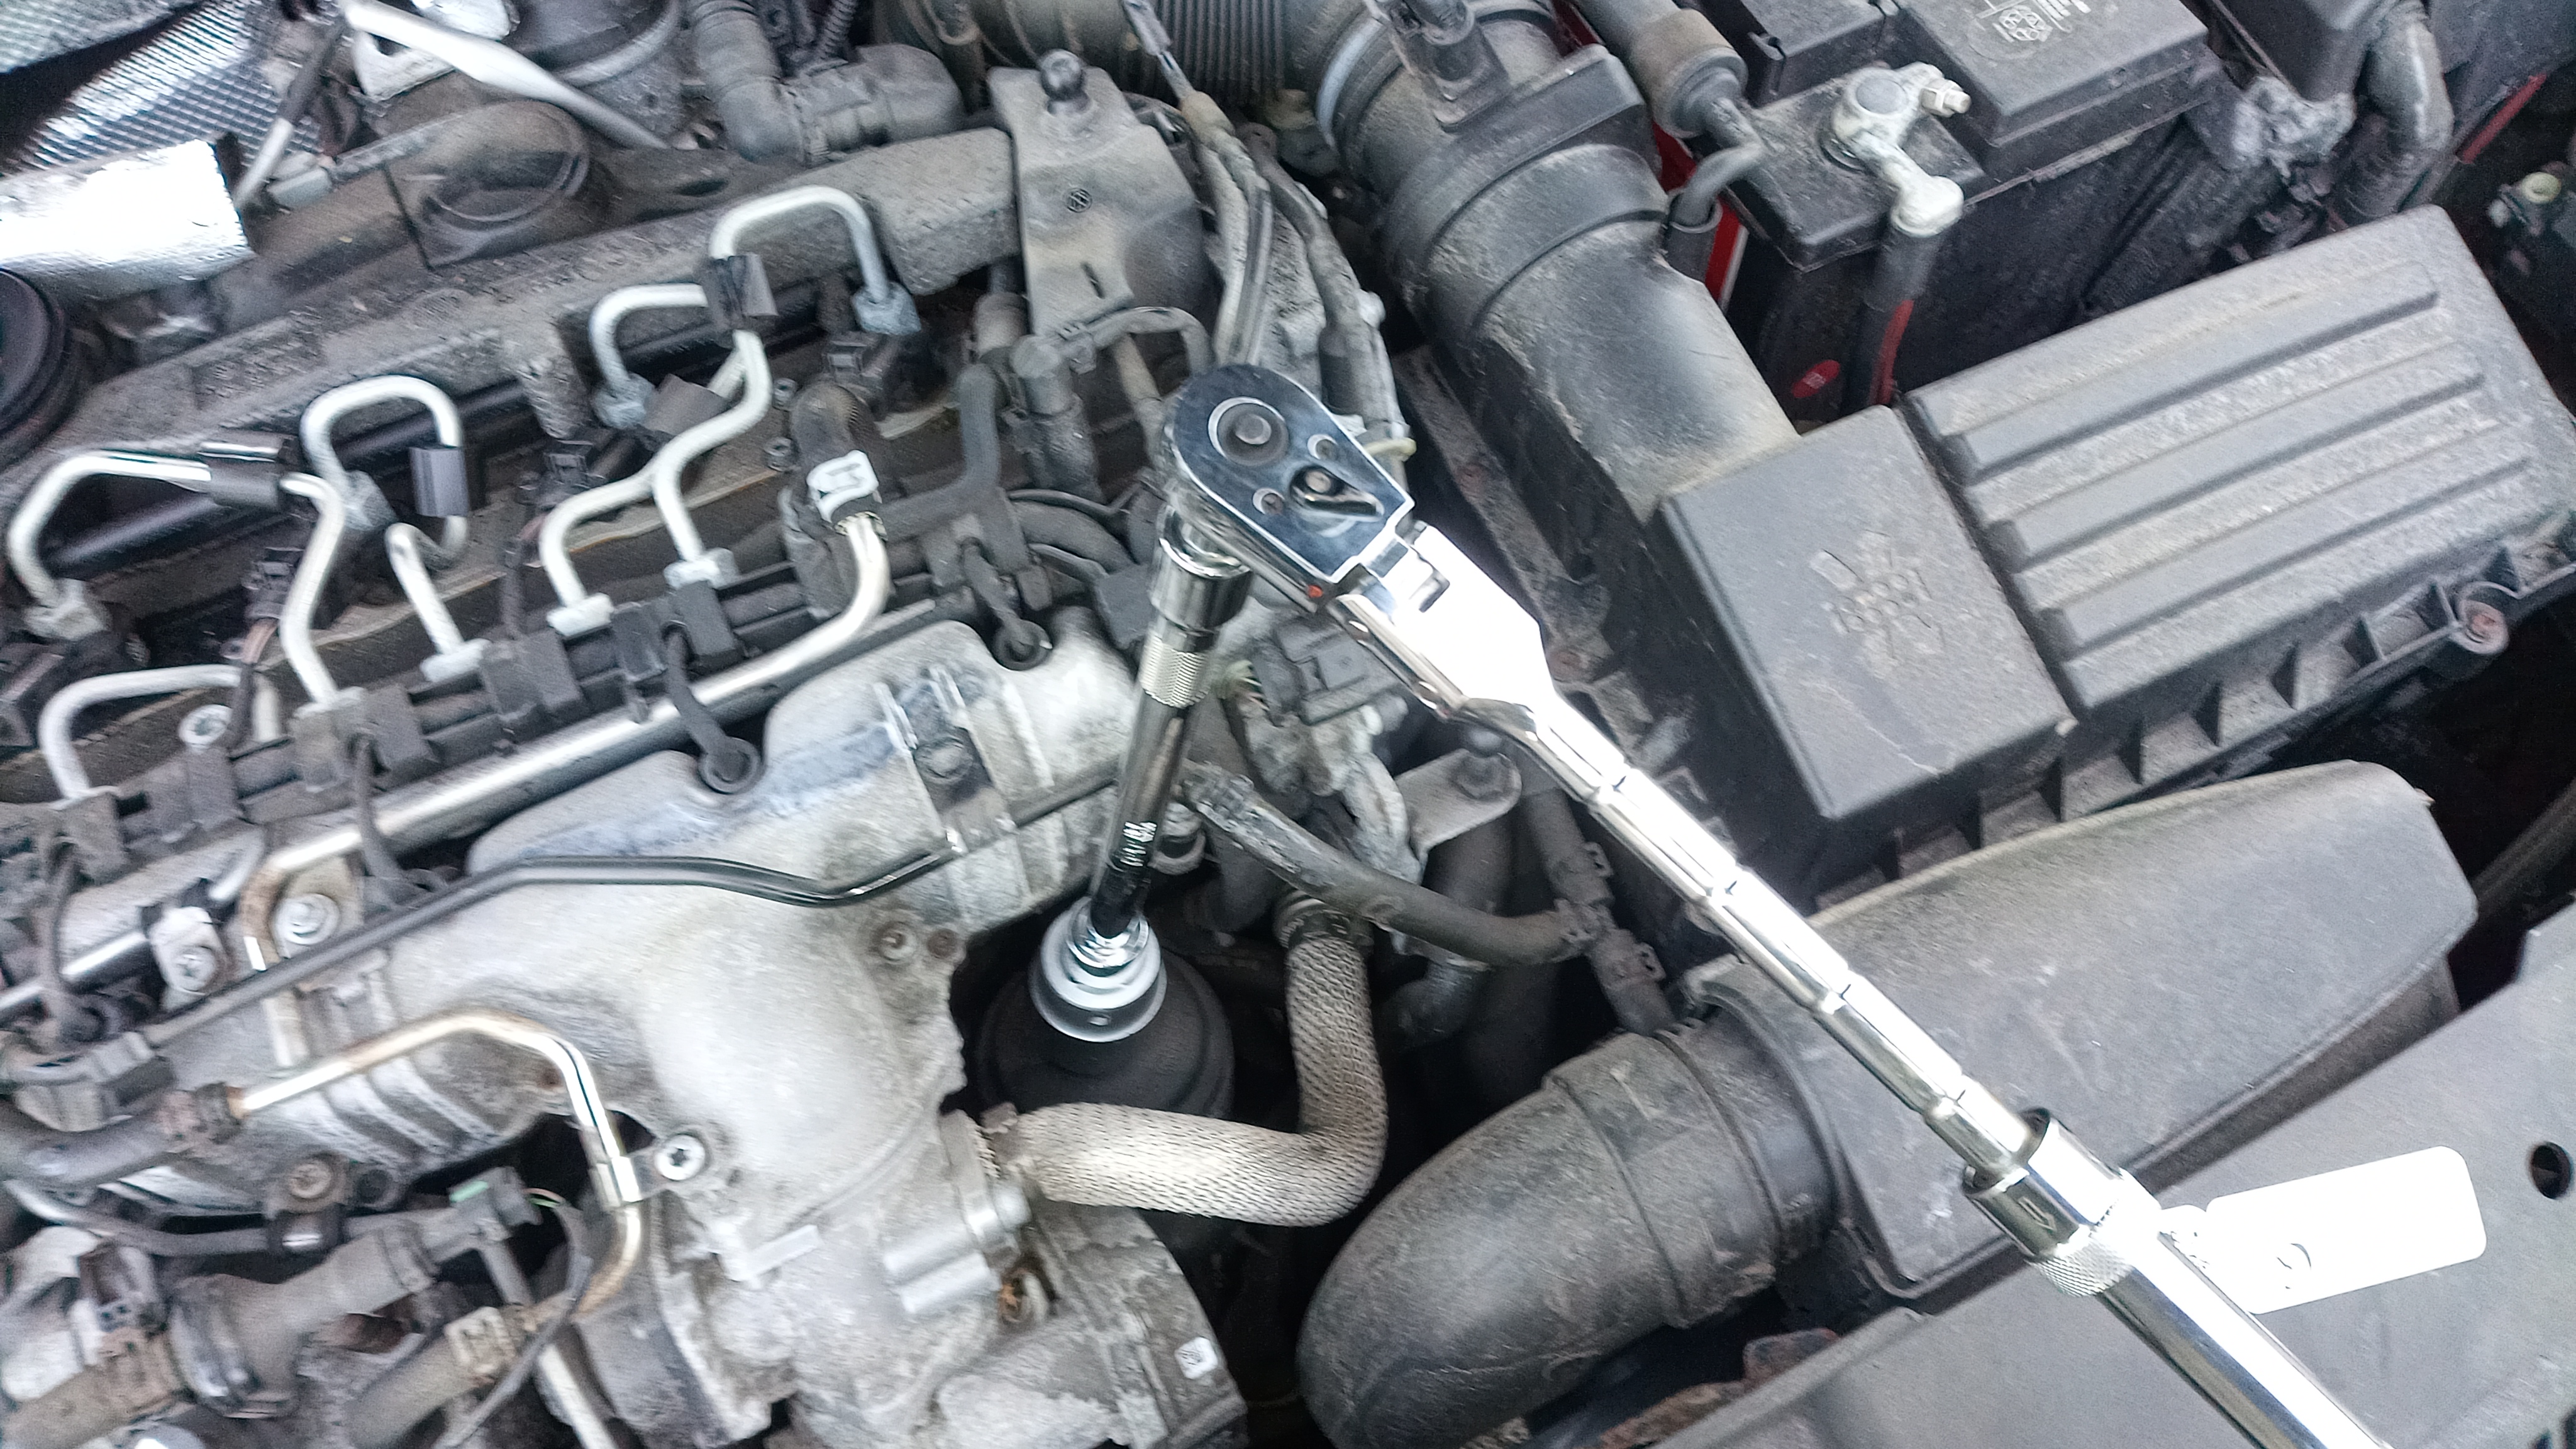
The filter sits below the engine. To loose the cap you need a 32mm socket with an extension so that the socket wrench handle has space to turn.
Once the cap is free the cap and filter can be lifted up and out of the engine bay as one unit. Be sure to have a container or trash bag on hand to put the dirty filter in once it's removed.
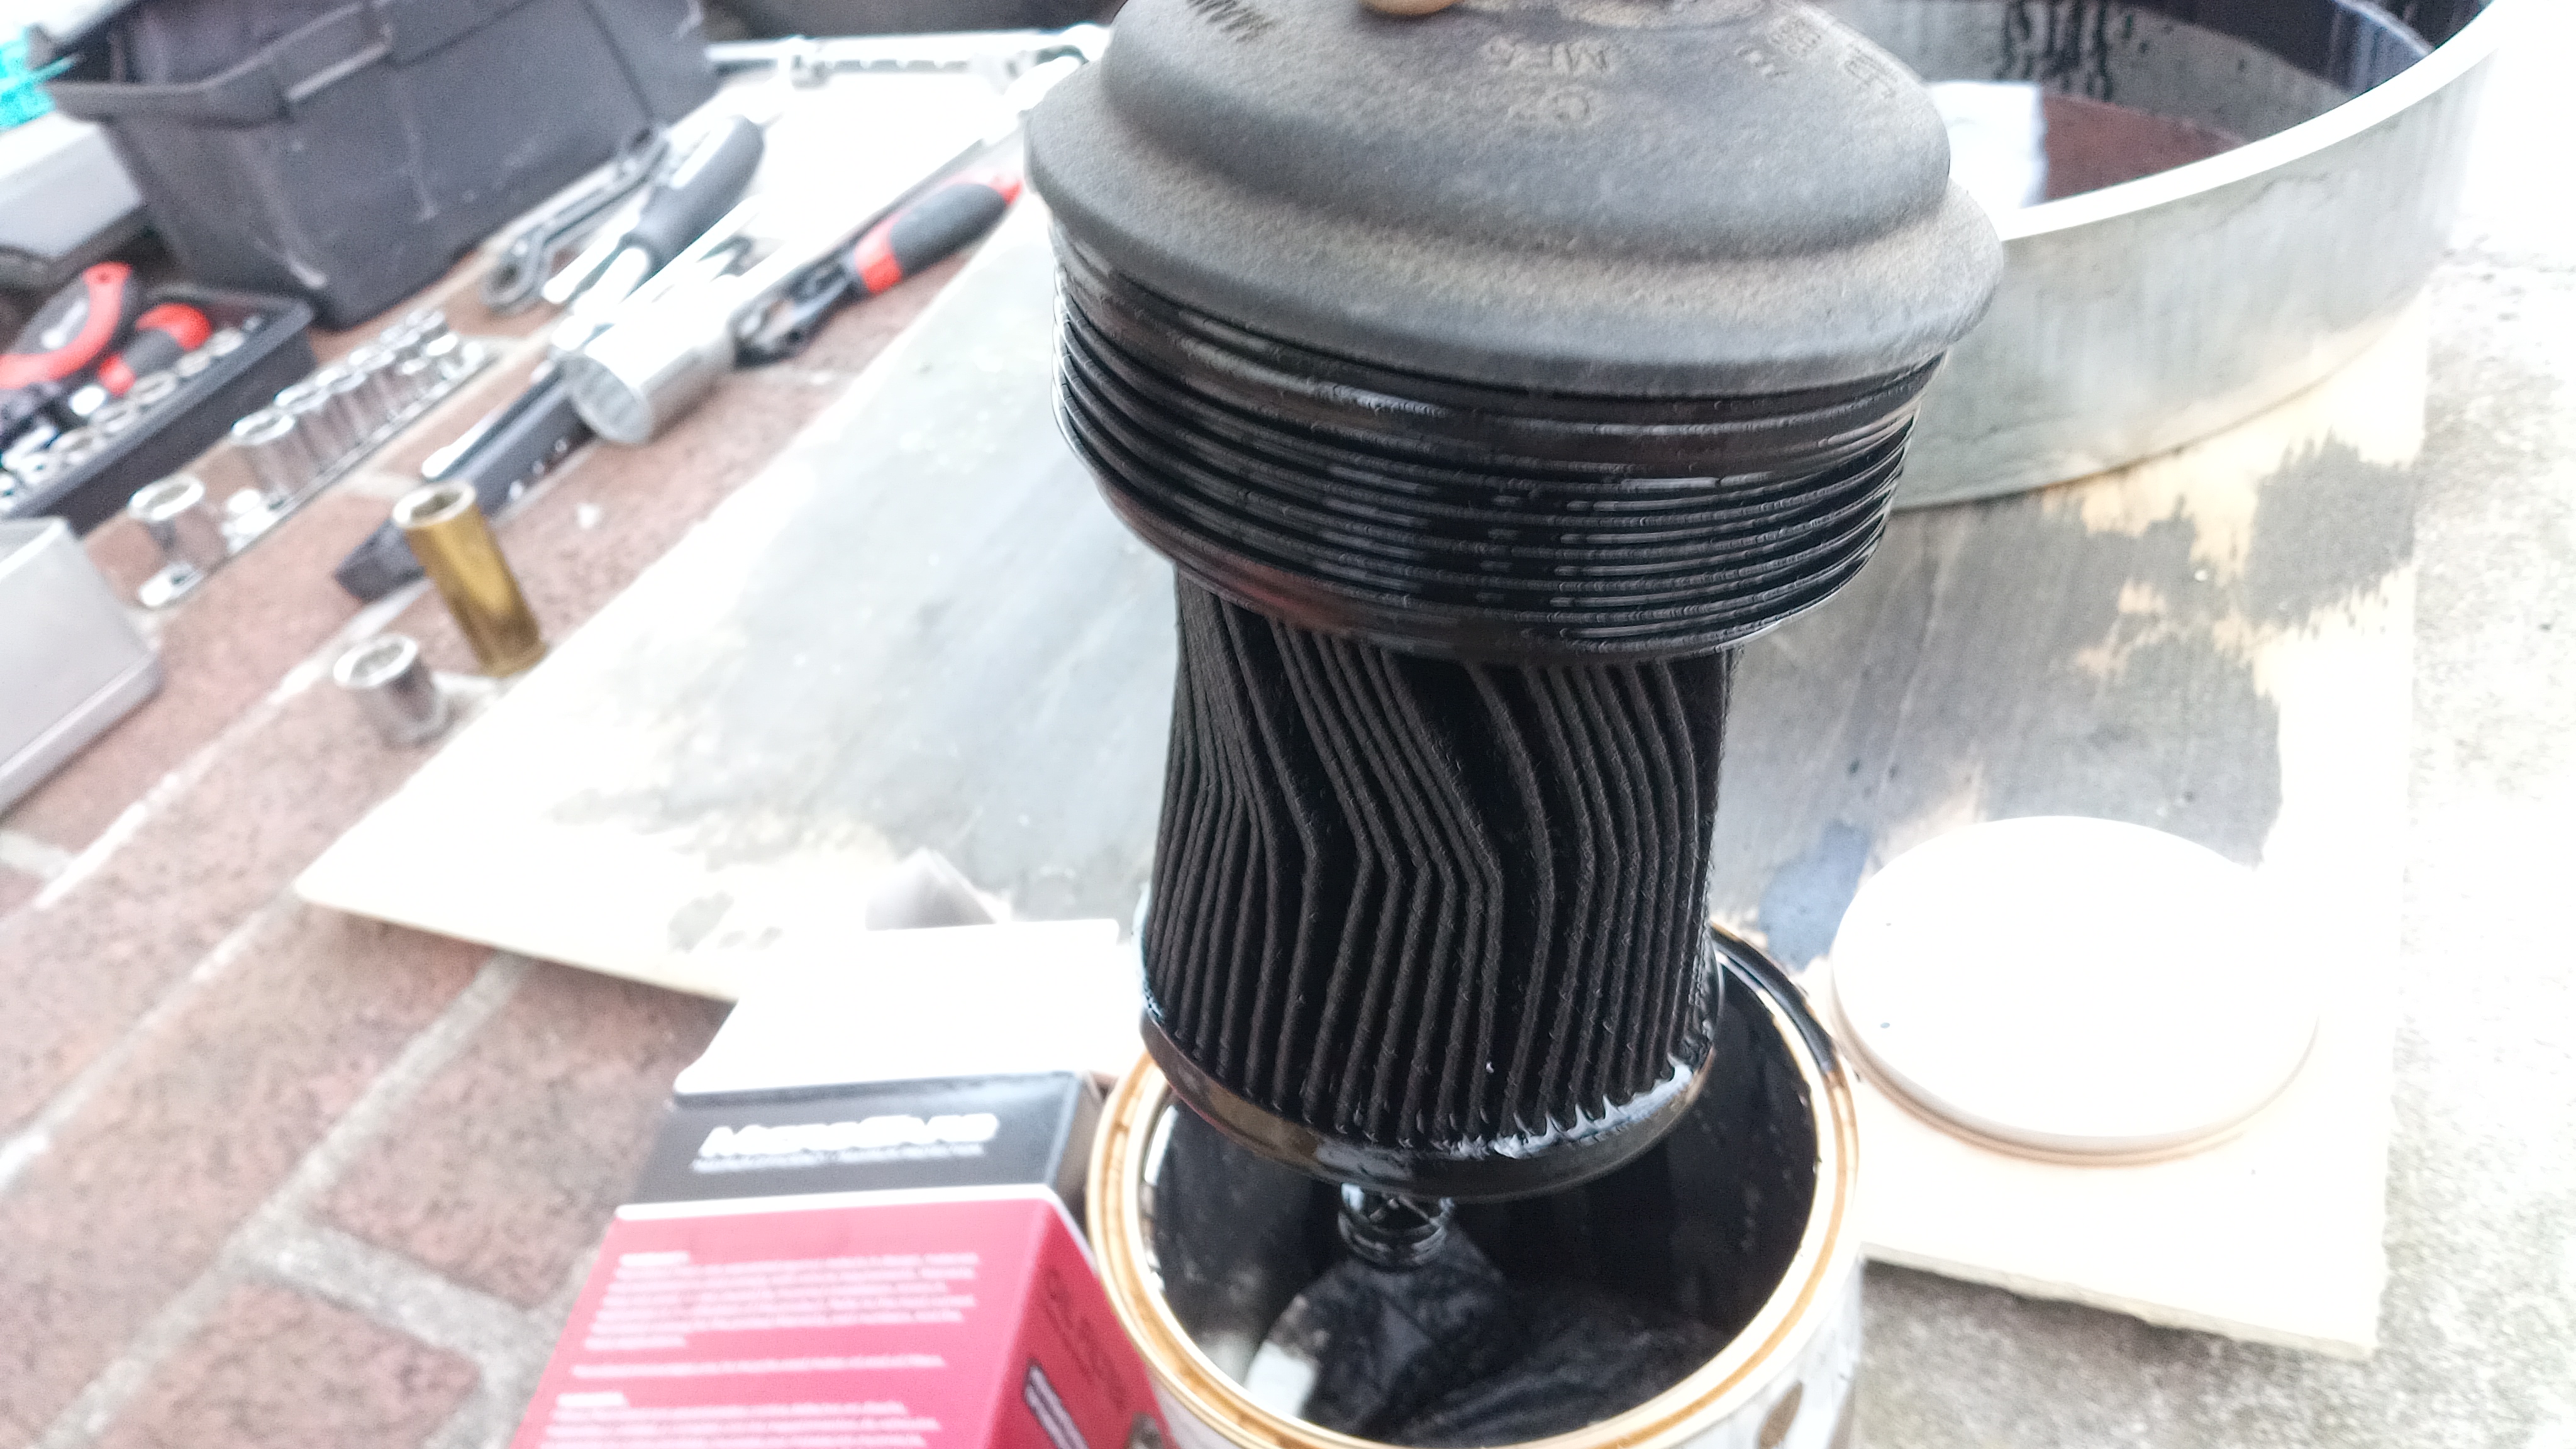
The filter can be separated from the cap with a gentle pull.
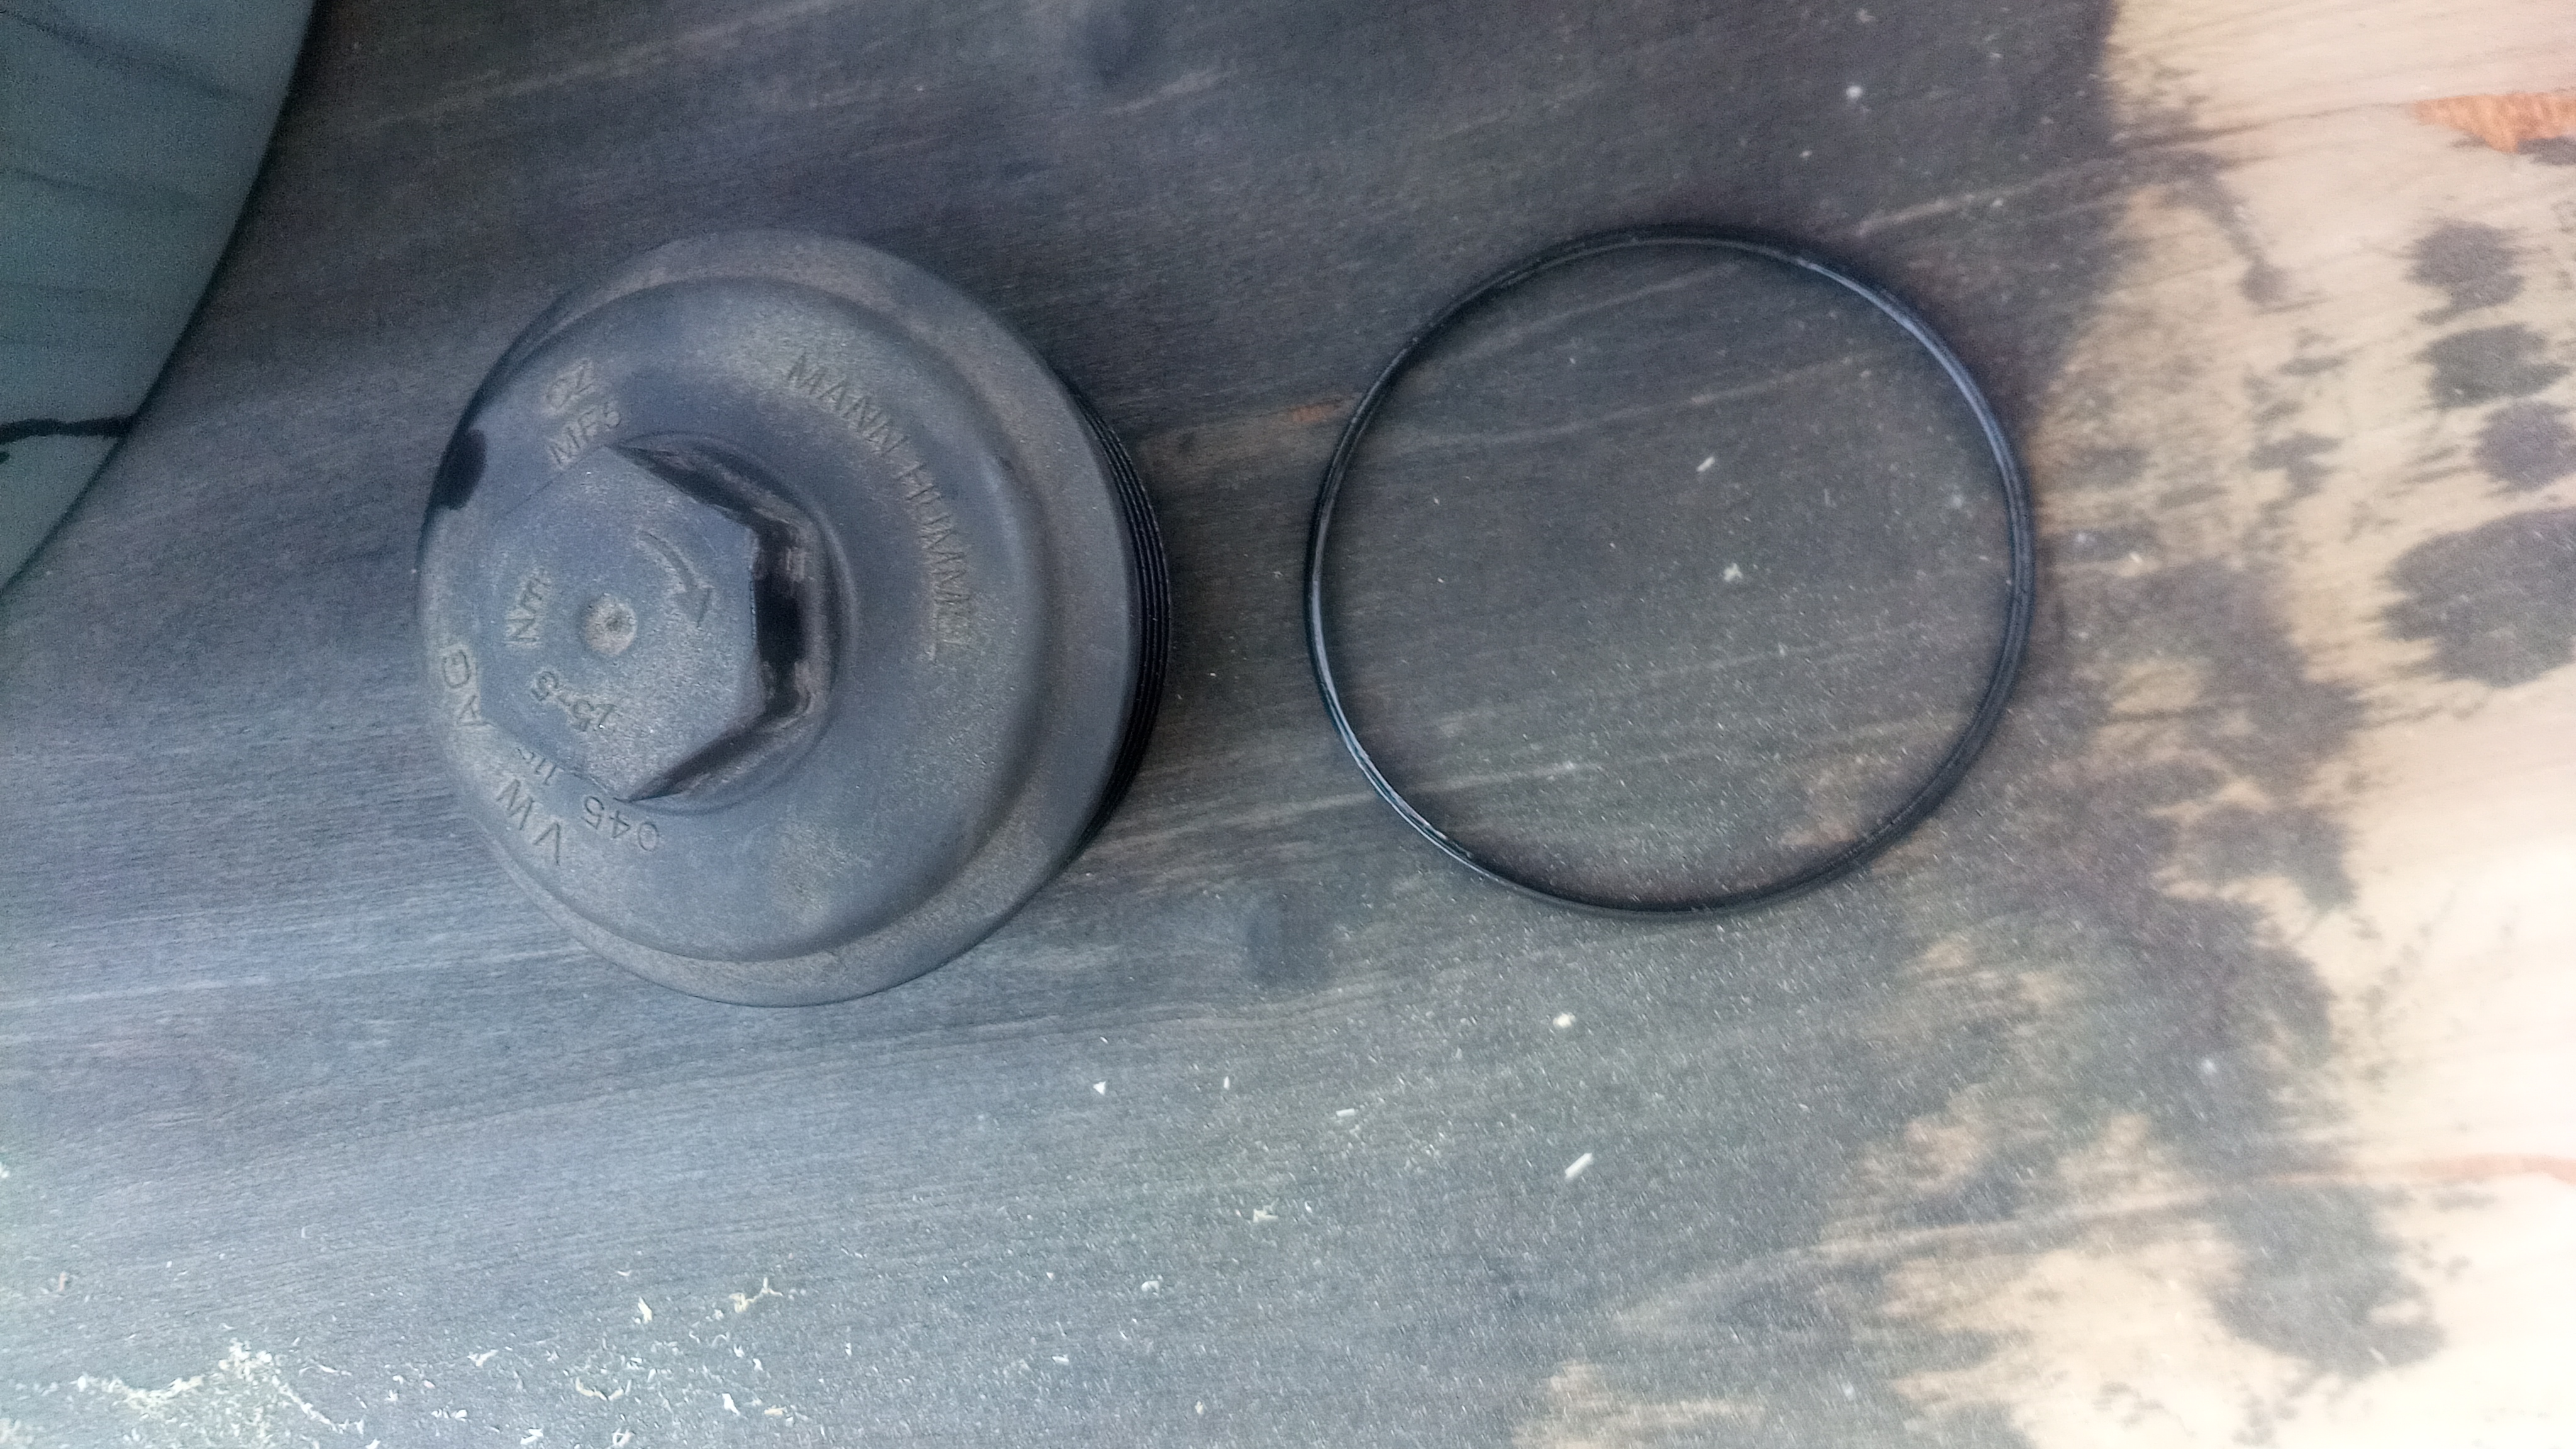
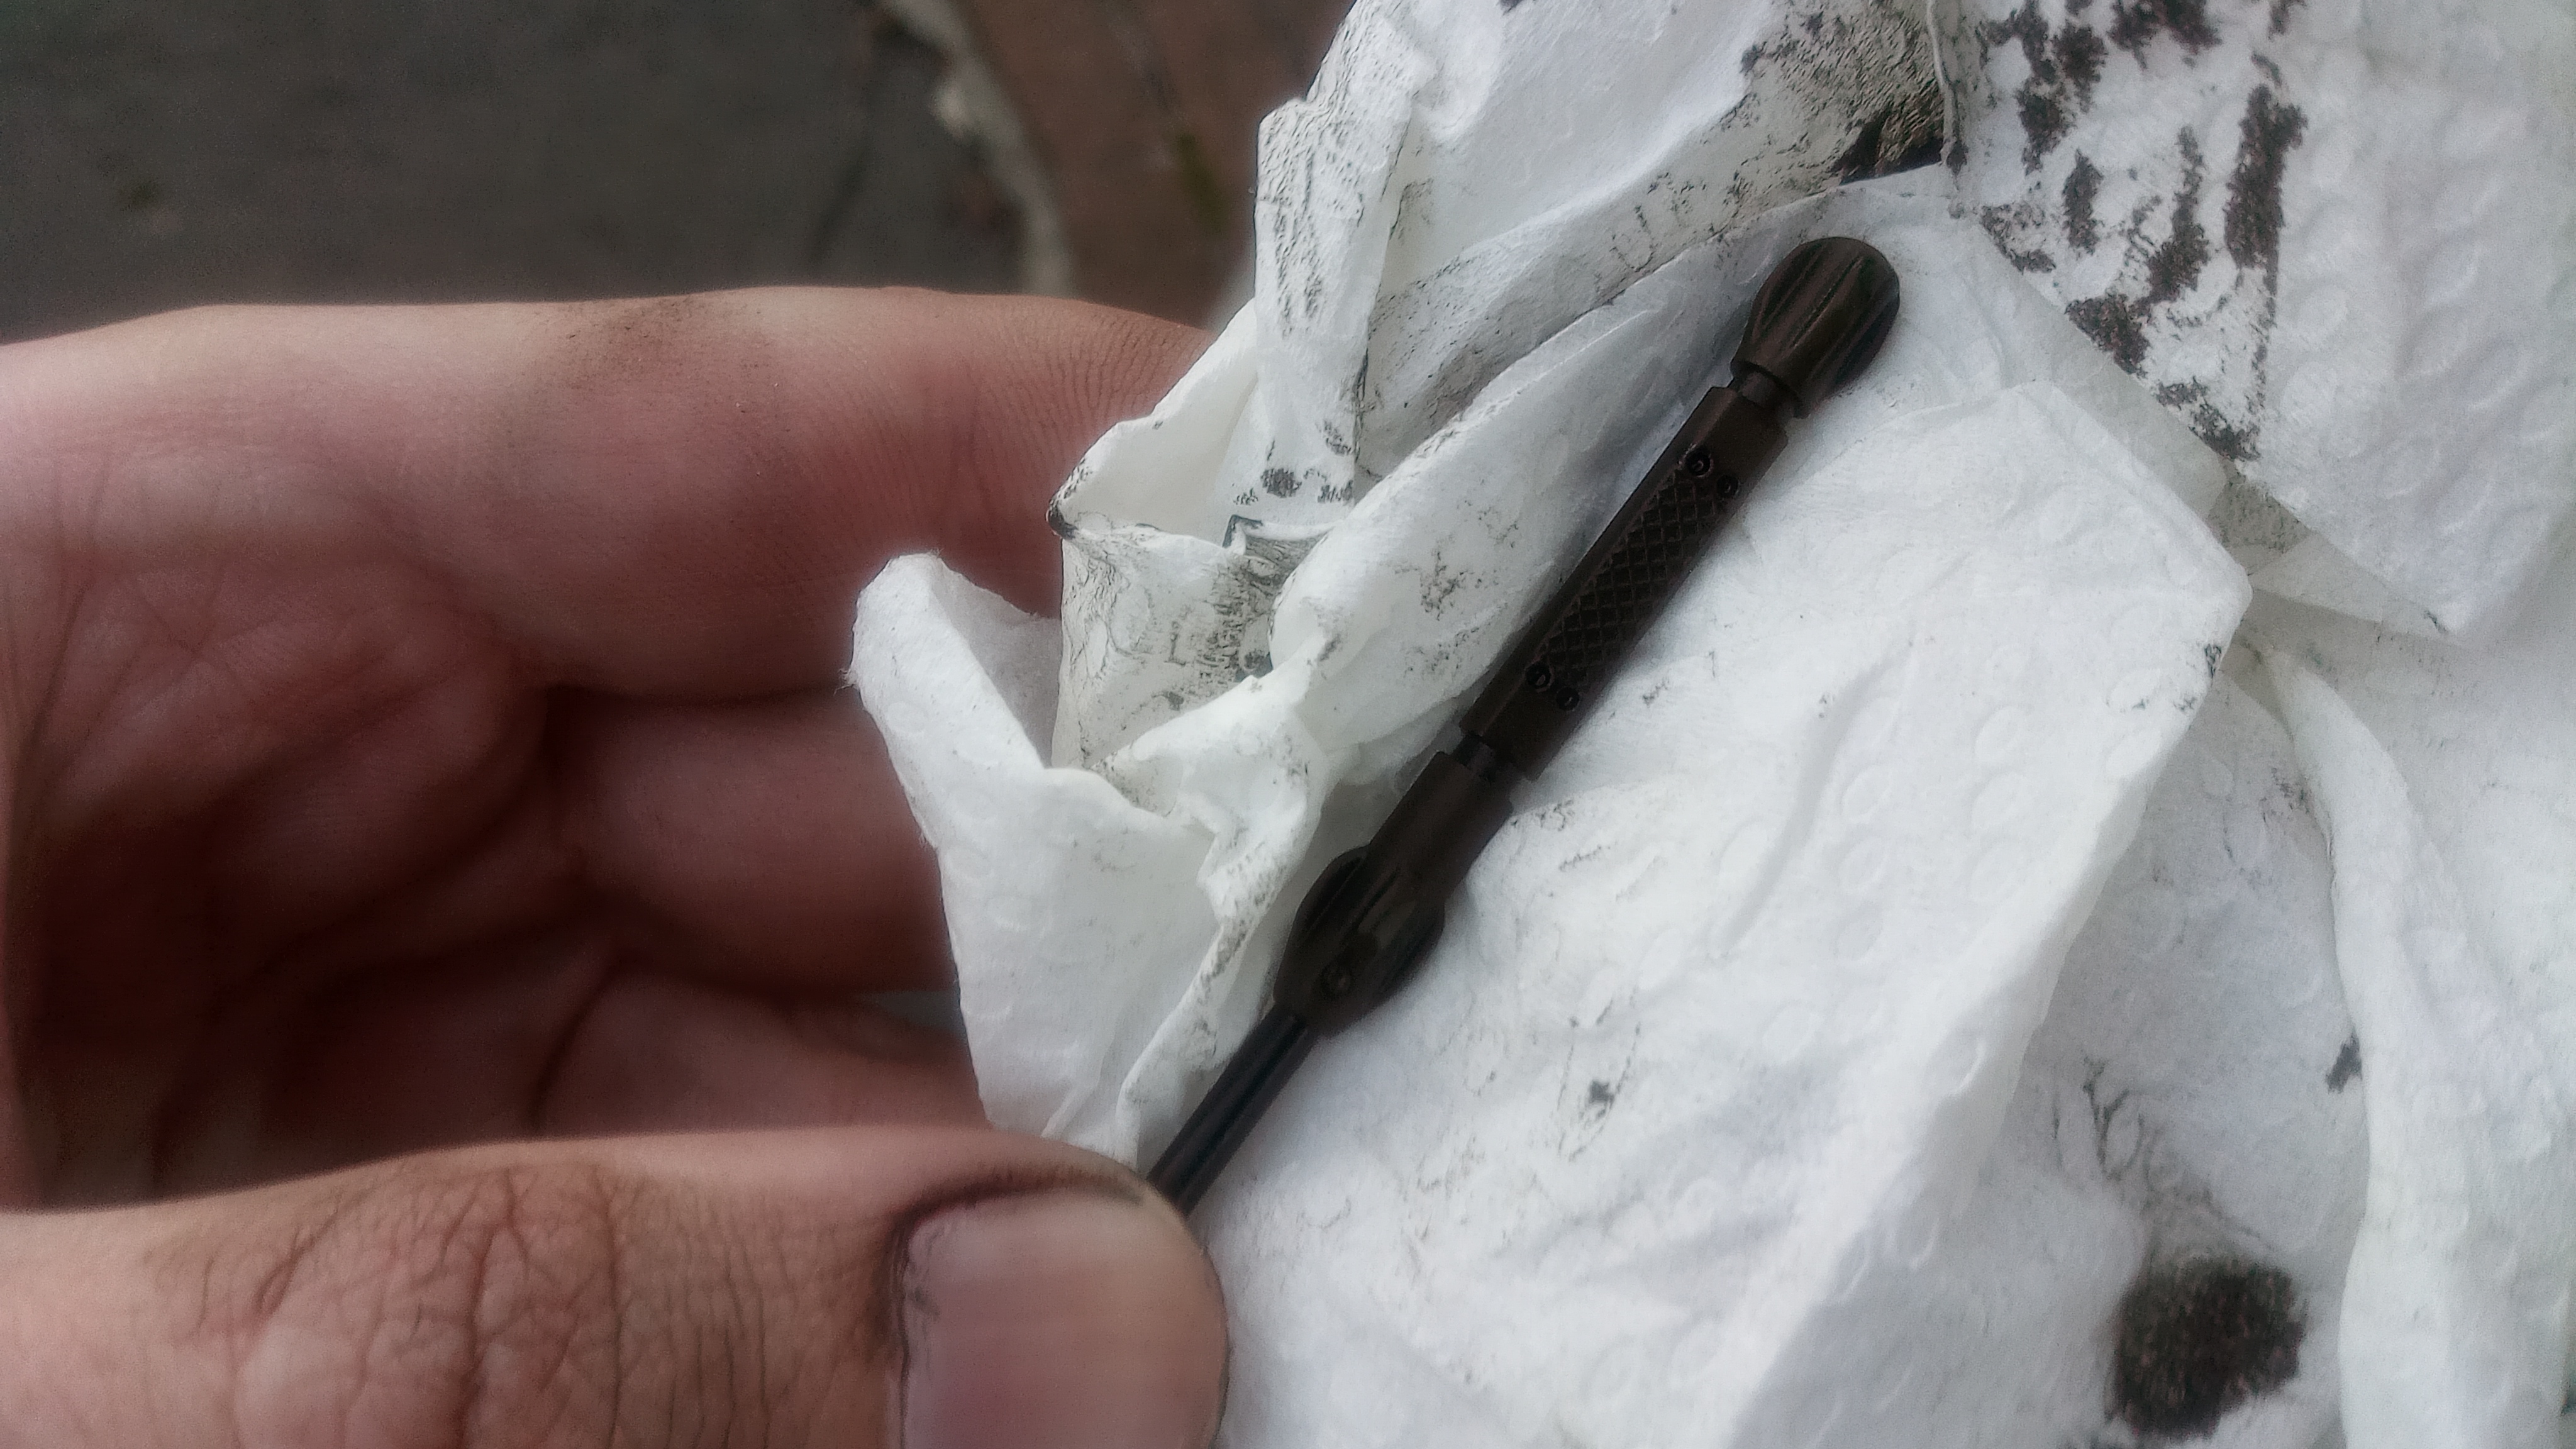
The new filter typically comes with a new o-ring for the cap. The o-ring sits in a channel near the top of the cap and is easily removed with a pick or screwdriver. After slipping on the new o-ring, I grease the outside of the o-ring using a little new motor oil. I don't know if this ritual meaningfully improves the seal, but I always do it.
Push the new filter cartridge straight into the cap install it. When it's clipped in correctly the connection still feels a little loose, but the cartridge will hold to the cap under it's own weight.
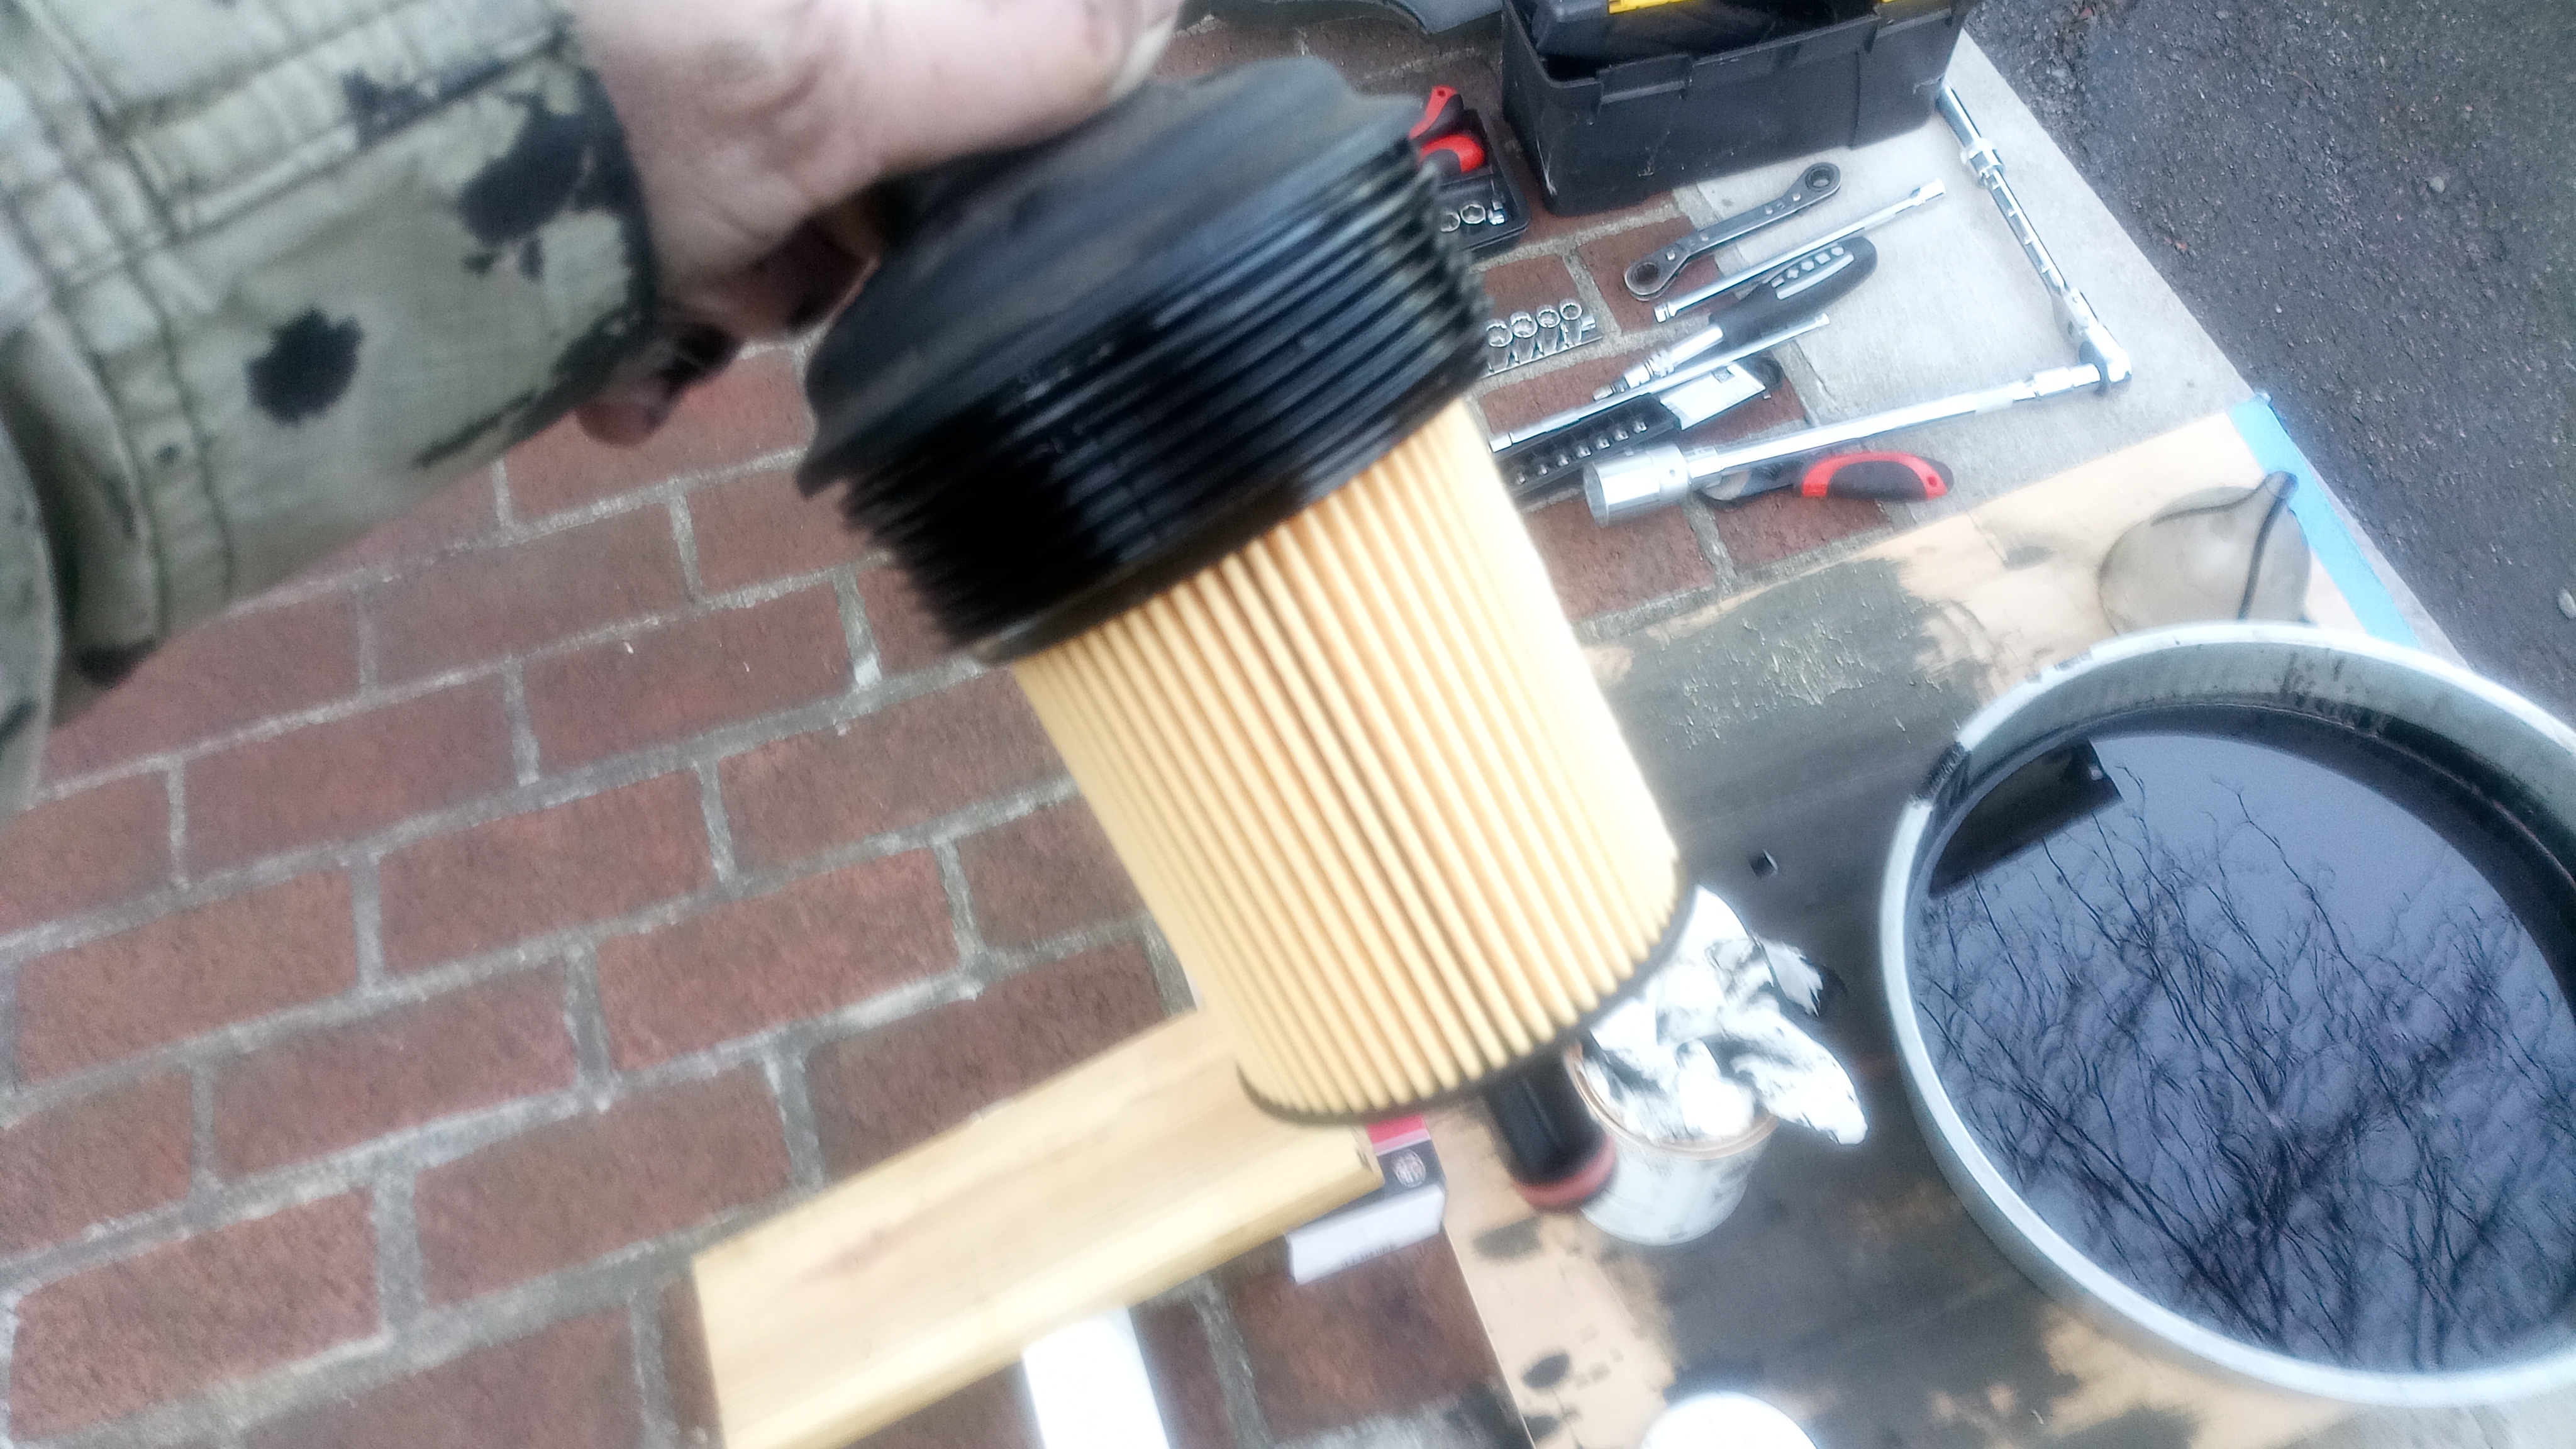
Now put the whole assembly pack into the engine bay. Tighten the filter cap down with the 32mm socket wrench and secure the hardline back in place.
Then re-install the drain plug bolt under the car and tighten it securely. Carefully slide the full oil drain pan out from under the car.
Fill Oil
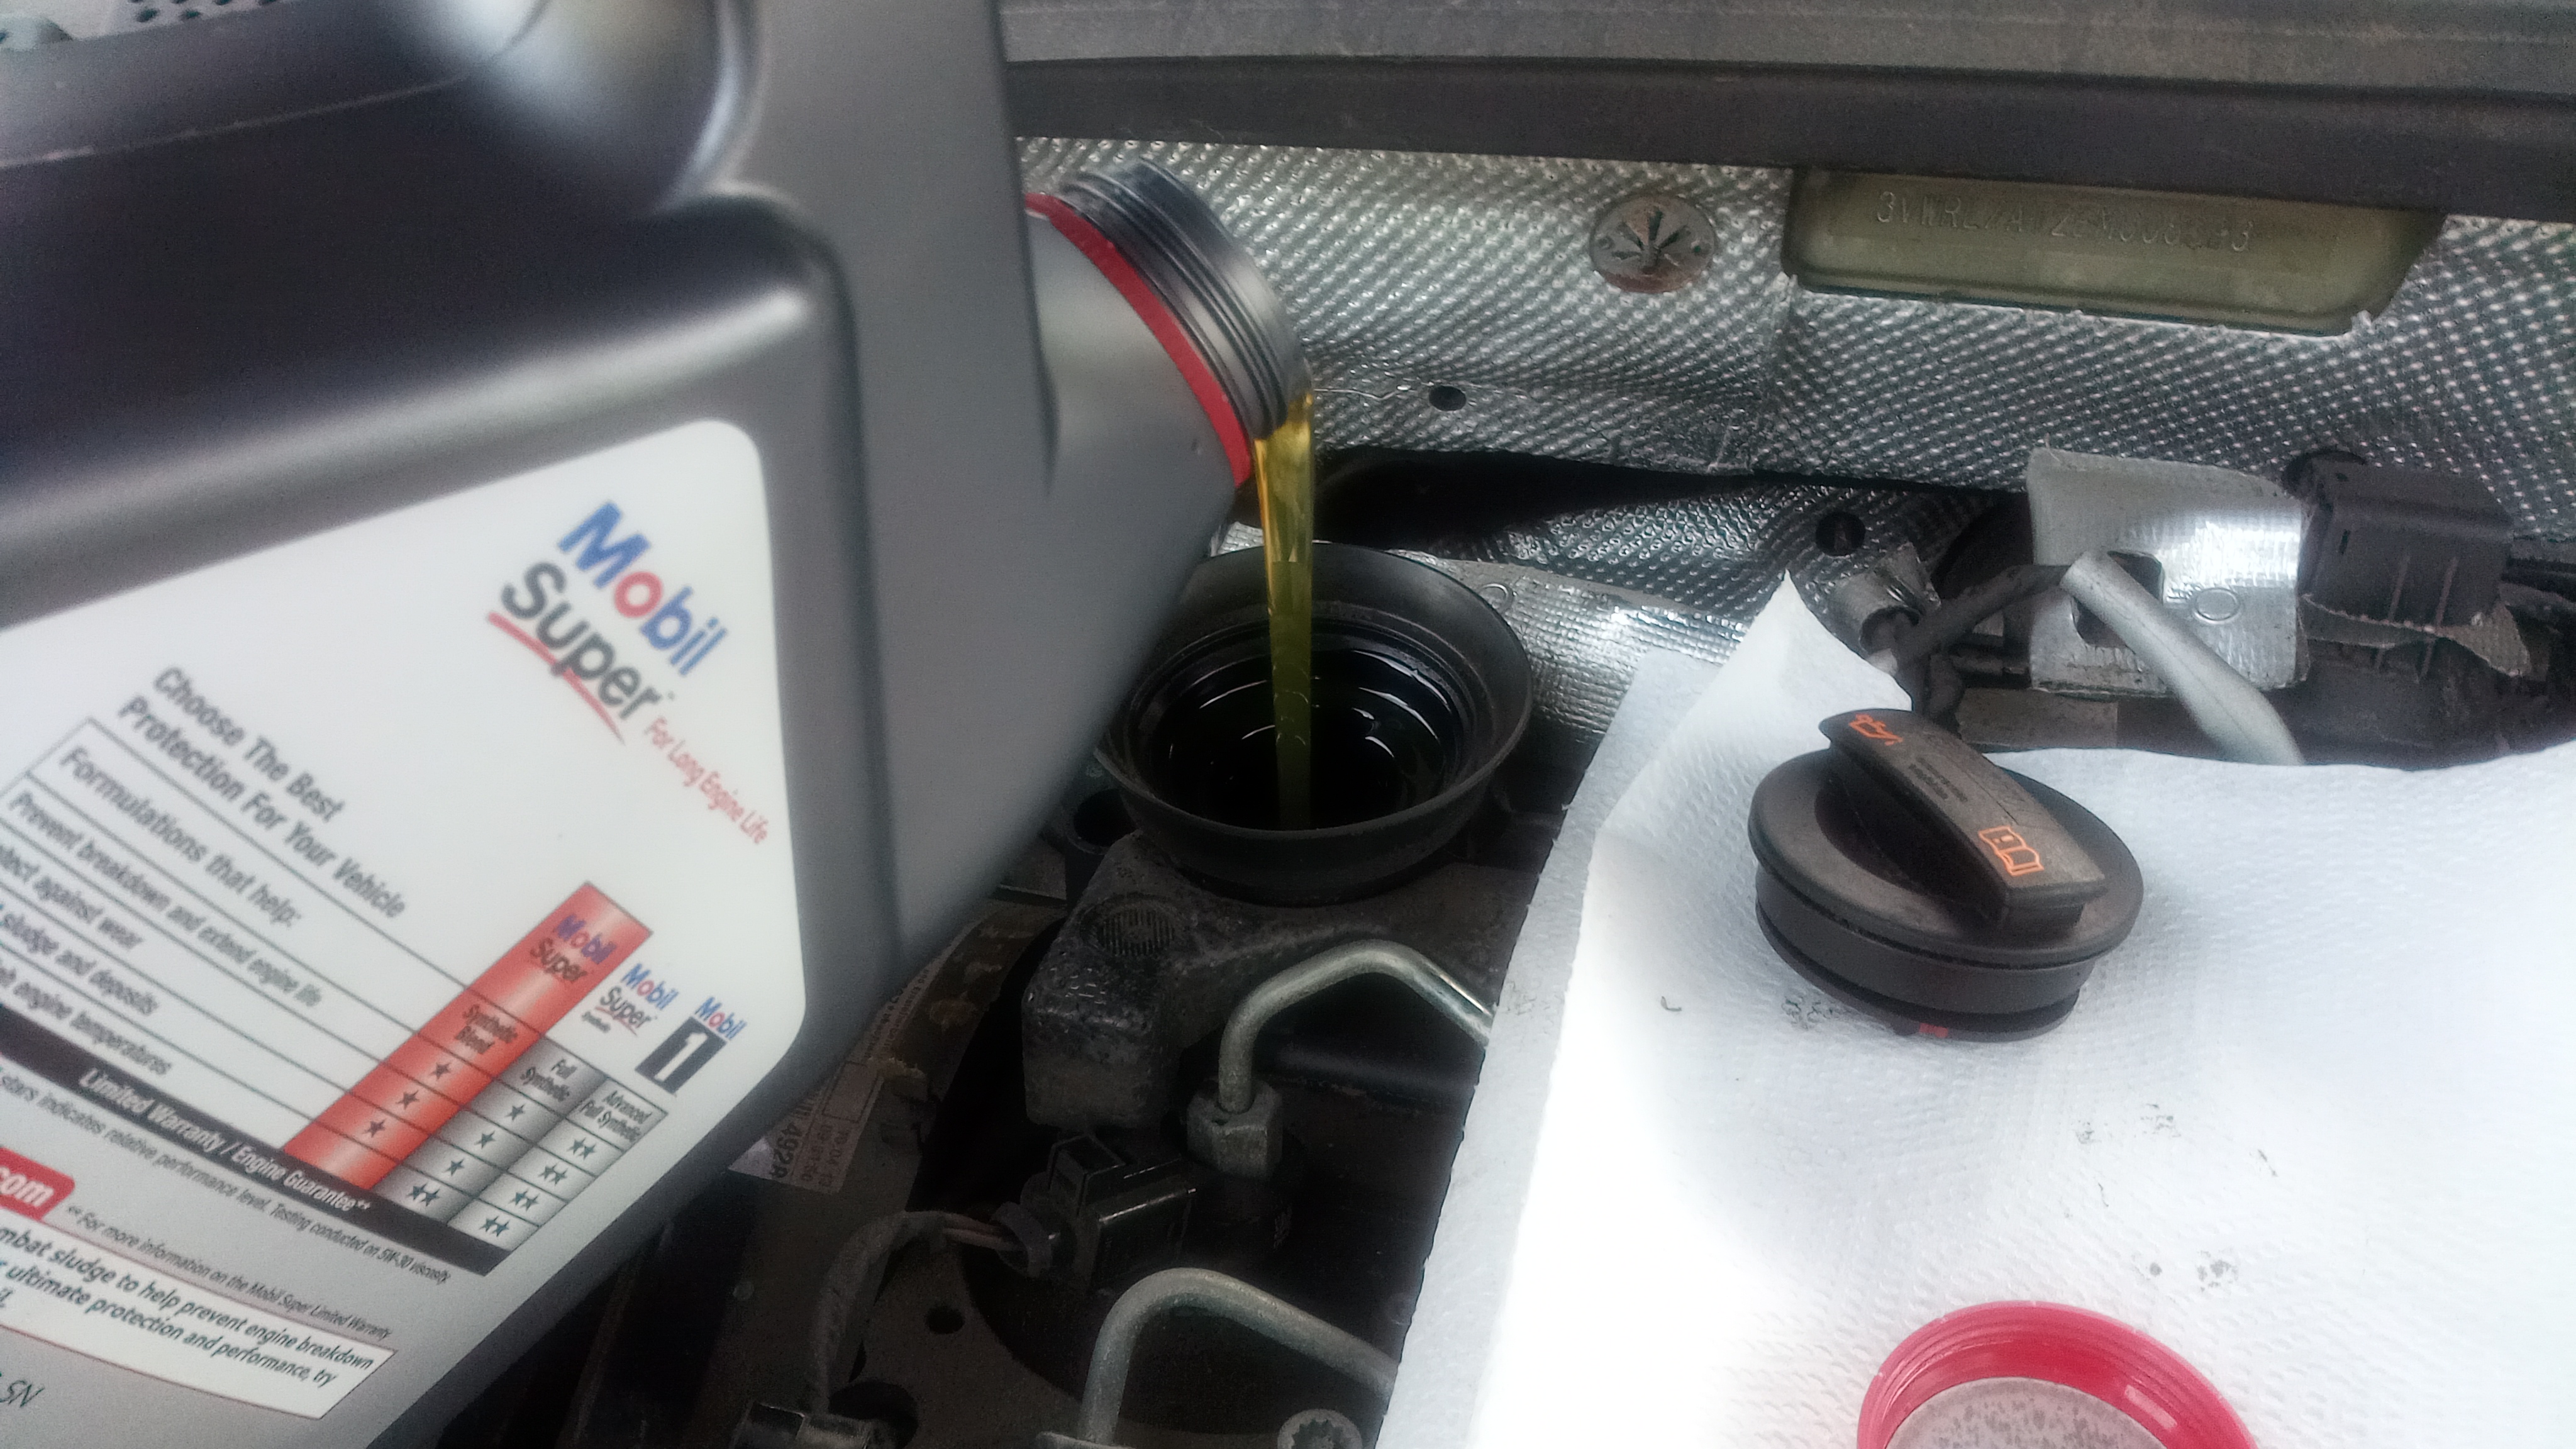
Before adding any new oil remove the dipstick and wipe it clean so you'll be able to measure the oil level. The dipstick has a textured section in the center of the bob at the end. To measure the oil level insert the clean dip stick back into the engine, pull it out, and see how much of the bob is wet with oil. The engine has the correct amount of oil when the surface line is within the textured section of the bob; below and there is too little, above and there is too much. Clean the dipstick between measurements.
Pour in new oil through the oil cap. This car has an oil capacity of 4.3L (About 4.5qt). When you get close to this amount, add a little oil at a time and measure the level with the dipstick between pours. It's easy to add more oil, but it's painful to remove if you add too much.
When the oil level is correct you're all set. You can close the oil cap and put the engine cover back on. Check the engine bay to make sure nothing has been forgotten, close the hood and lower the car back the ground.
Clean Up
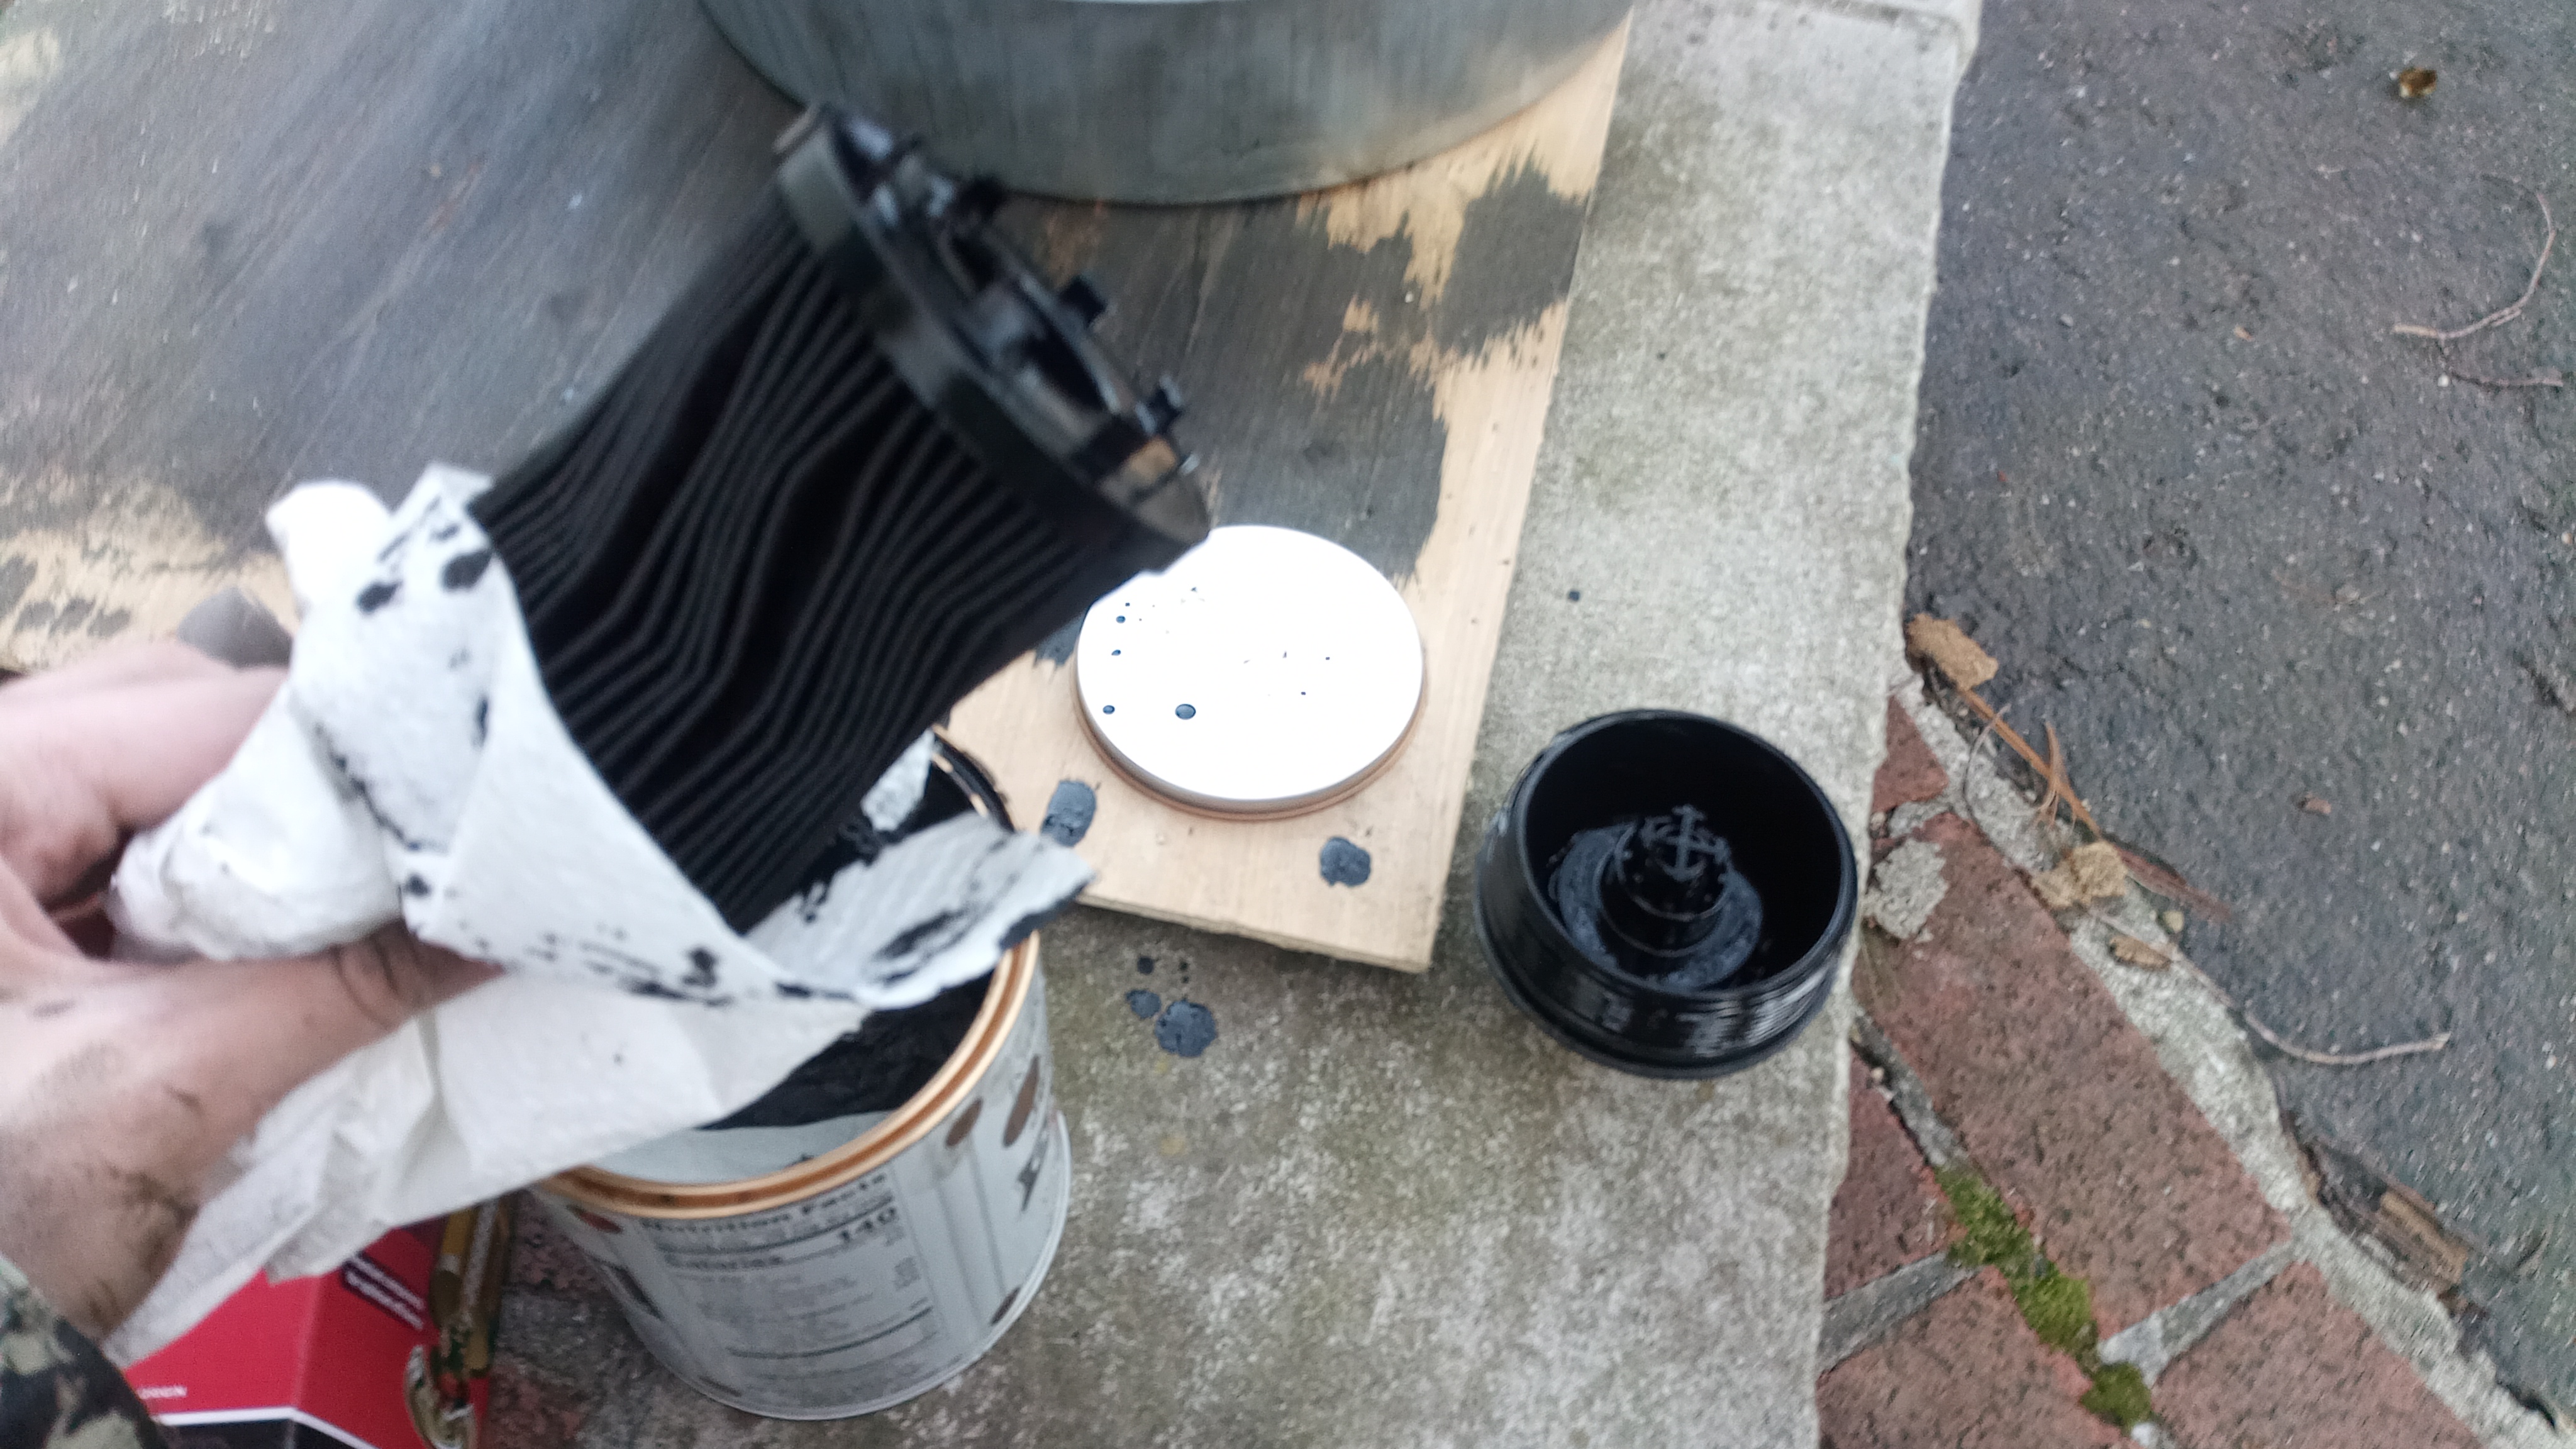
Now you have a pan full of used motor oil to deal with. Most autoparts stores will recycle it for free, you just need to transfer it into a container for transport. Often the simplest thing is to transfer the oil back into the now empty containers your new oil came in.
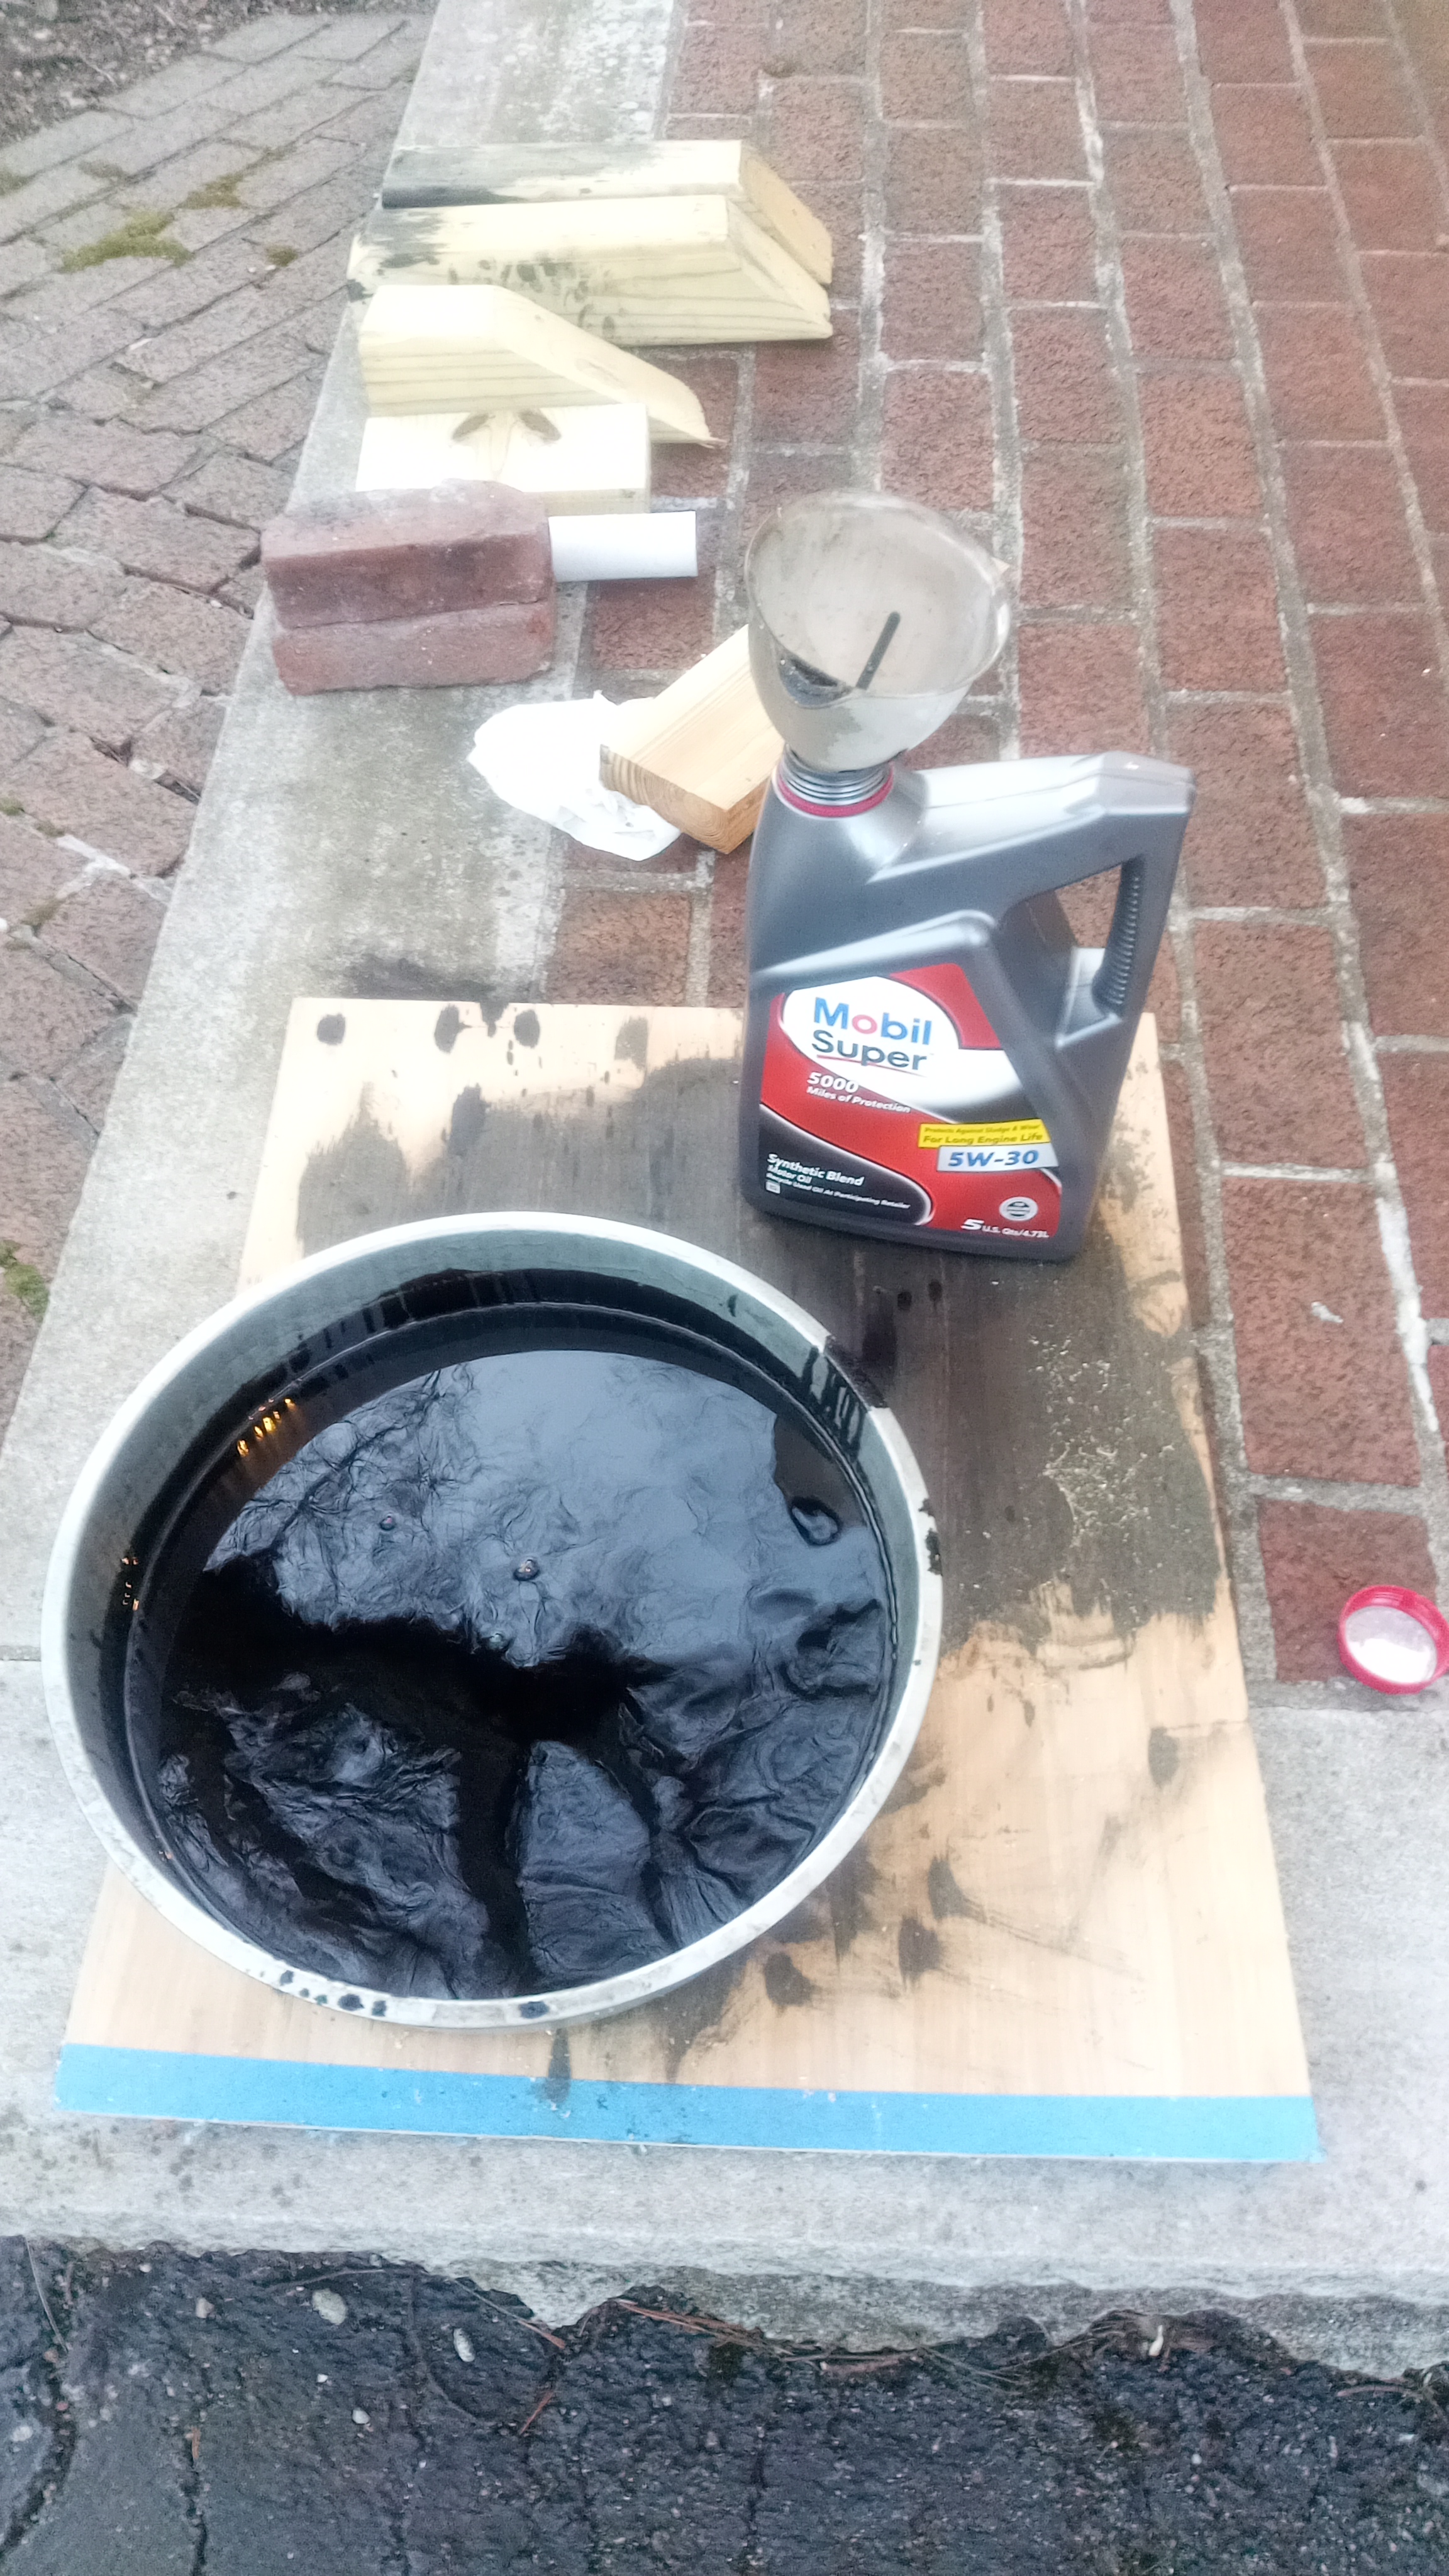
It's easy to spill oil by accident and hard to clean, so find somewhere suitable when you make the transfer. If you're using a funnel you can easily pour faster than the funnel can drain, so go slow. Then take your dirty motor oil to be recycled.
That's it! It's pretty easy and can be done in a few hours even if you're learning. Have fun, and be very careful lifting your car.